
The routine has some attention-grabbing puzzles that may be complicated, particularly when your life is on the road at each flip. Here’s a full routine walkthrough with all puzzles solved for every chapter.
Chapter 1
Function your terminal to print your ID card. Try the fundamental controls, equip your helmet and swimsuit, then head outdoors.
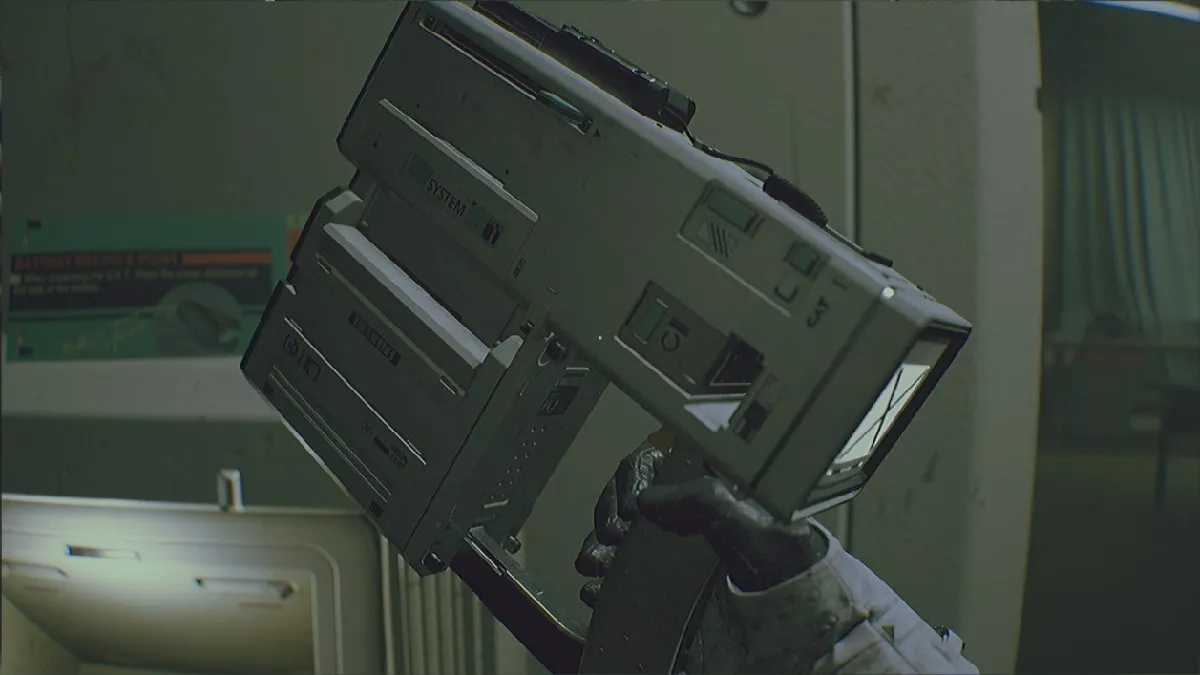
Get the CAT
Comply with the hallway on the left and enter the room on the proper. Go proper once more and you will be in a room with a projector display, the place you may choose up the CAT from the desk. That is an all-in-one device that you should use for the remainder of the sport.
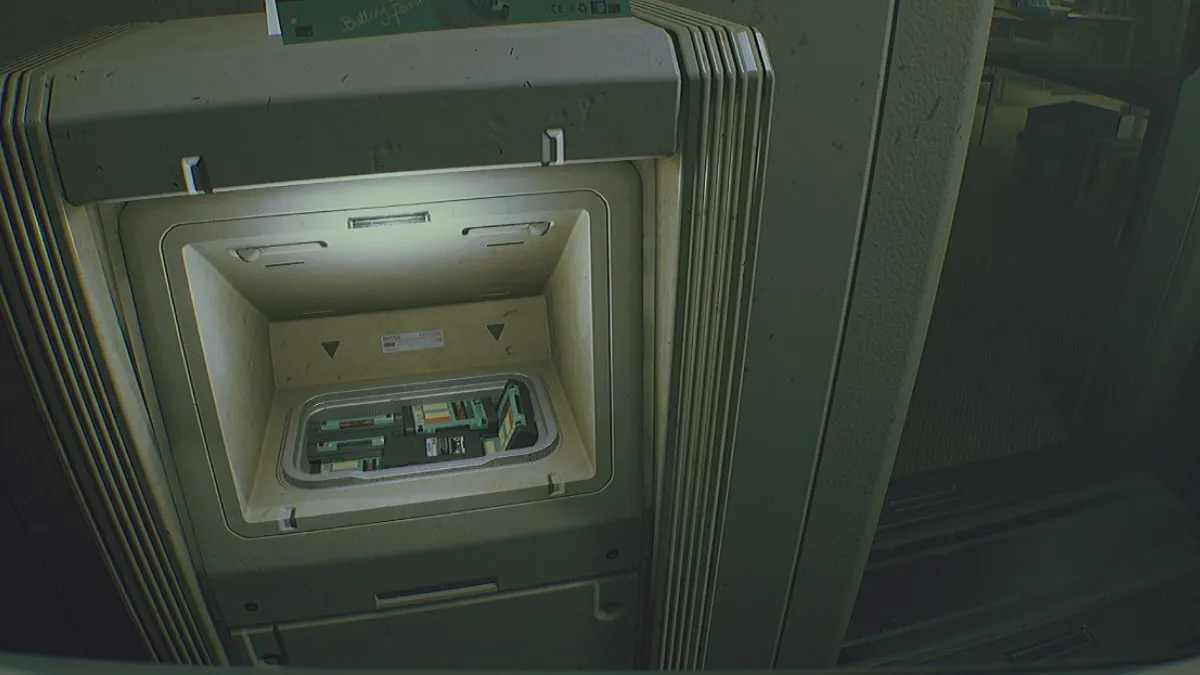
Open the opposite door within the room and take out the battery. Then return to the room with the projector display. The recyclable battery dispenser can present a one-third cost, however will solely work if the CAT is depleted.
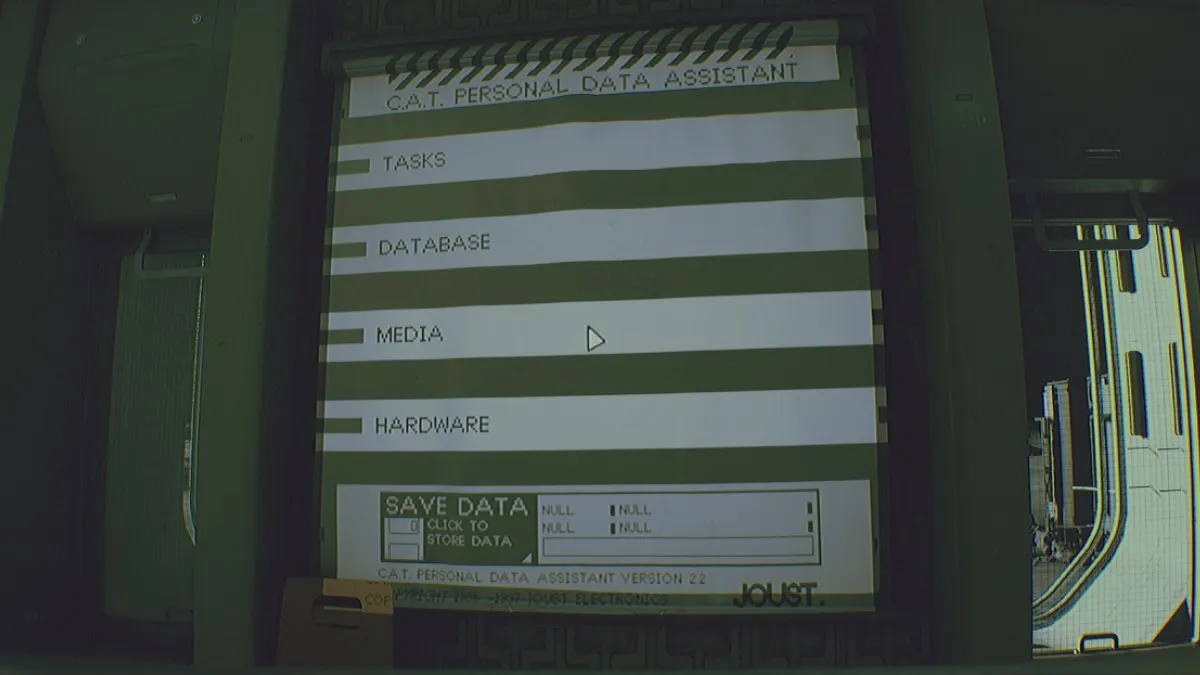
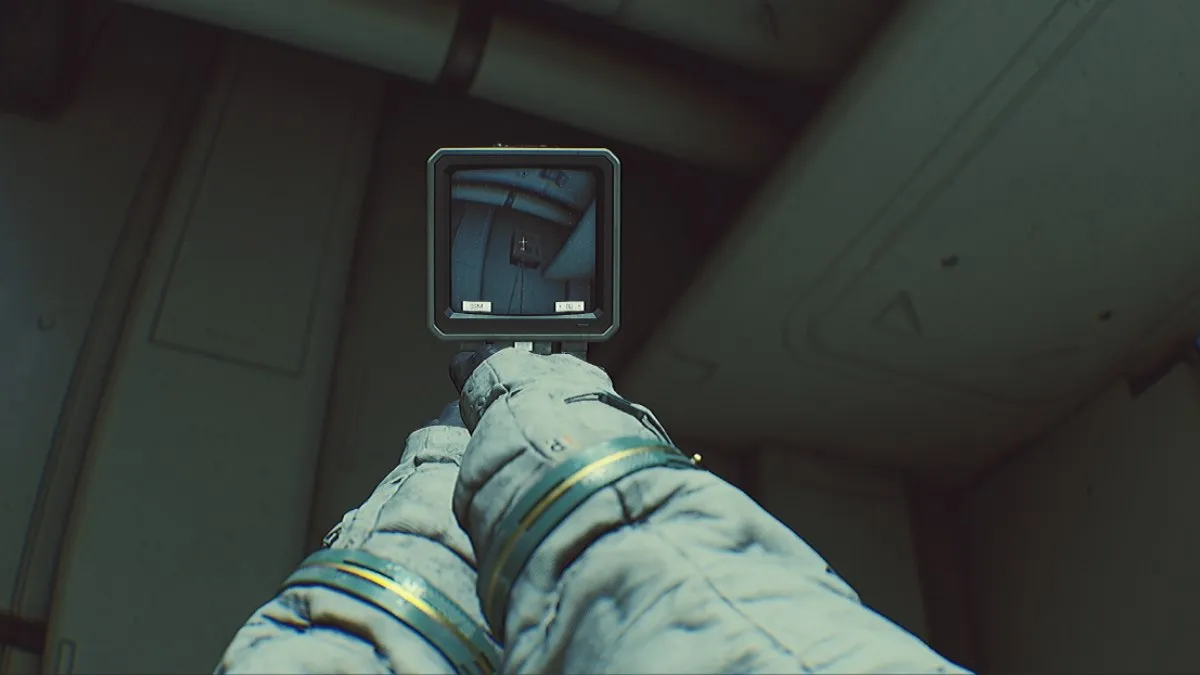
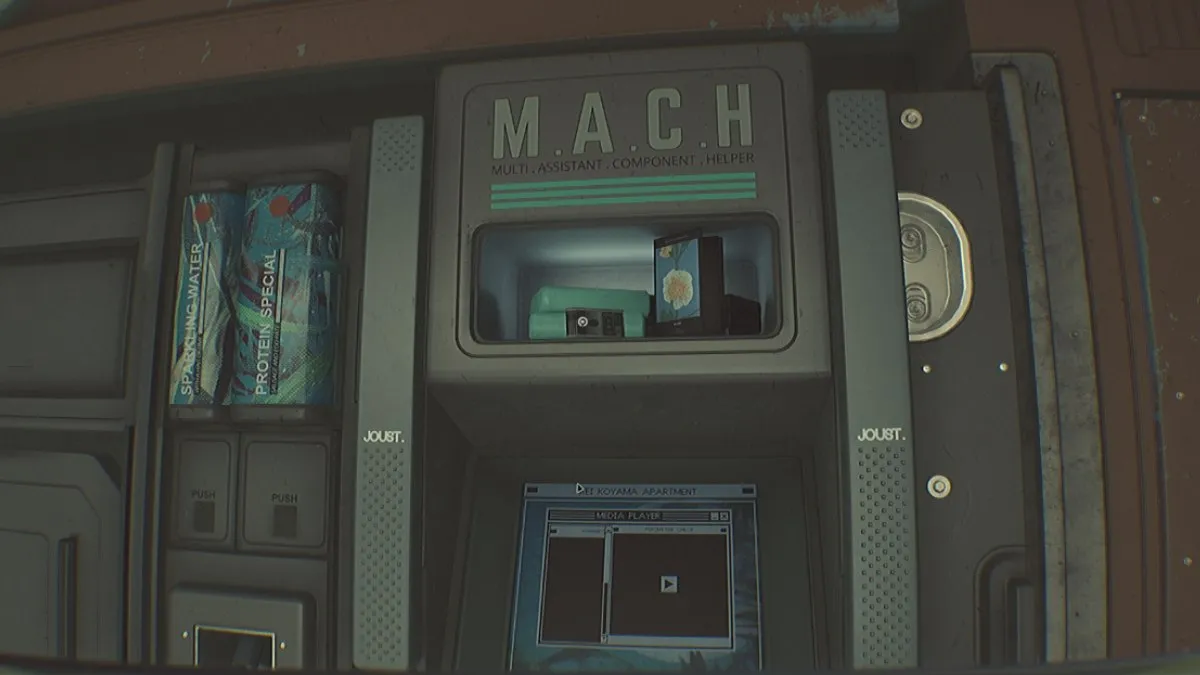
Press R to examine the CAT and switch it on with the button subsequent to the battery. Then, method the display and press the wi-fi connection button. Now you can view your duties and save your recreation.
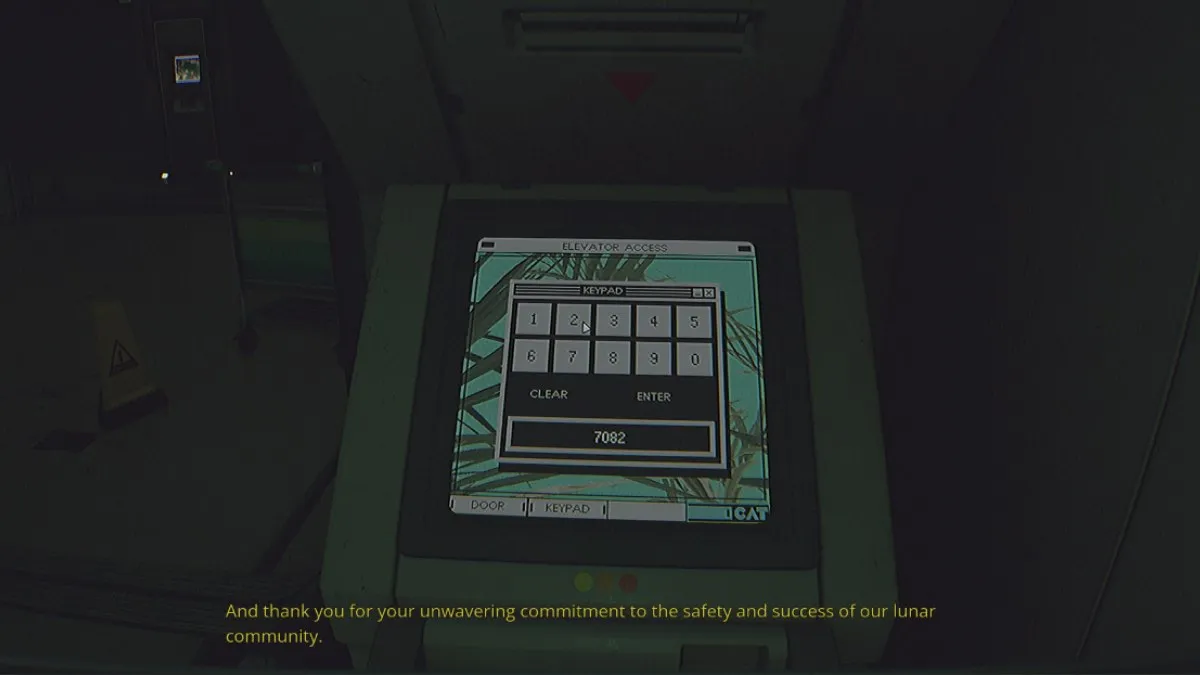
Arrival elevator key code
The arrival elevator keycode could be discovered within the CAT database part. The important thing code is 7082.
Unlock the elevator with the important thing code and head to the second ground. When you go to the left aspect, you will note the duty to learn how to seek out the ID and entry code.
departure arrival
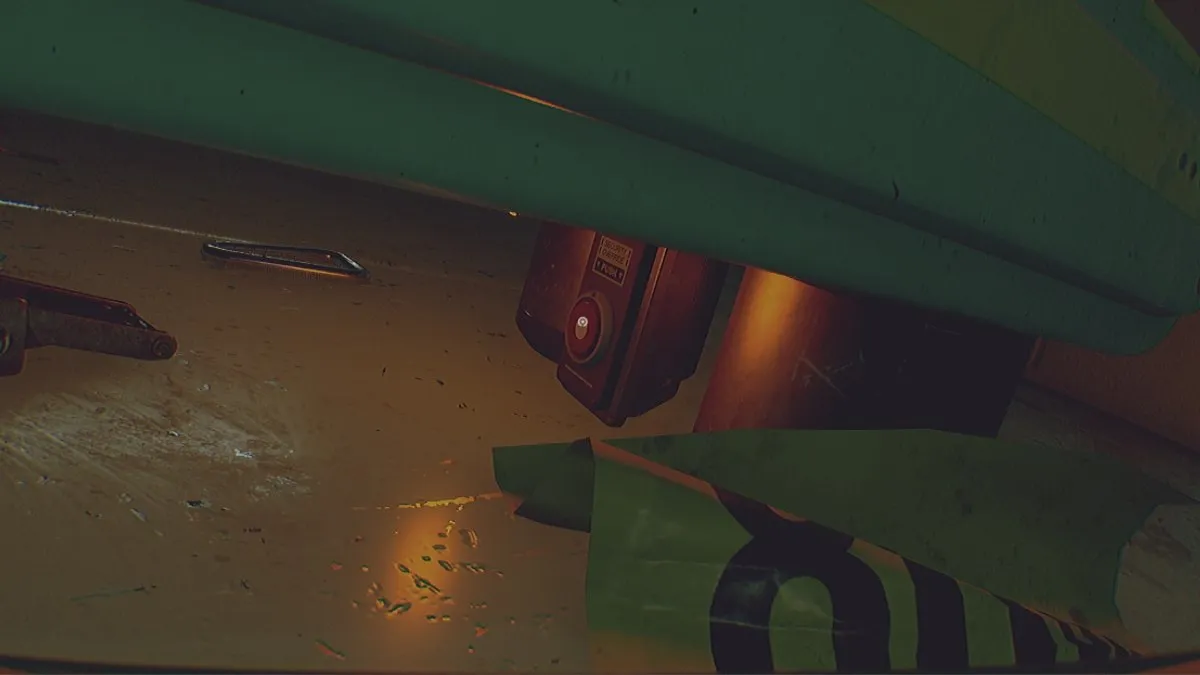
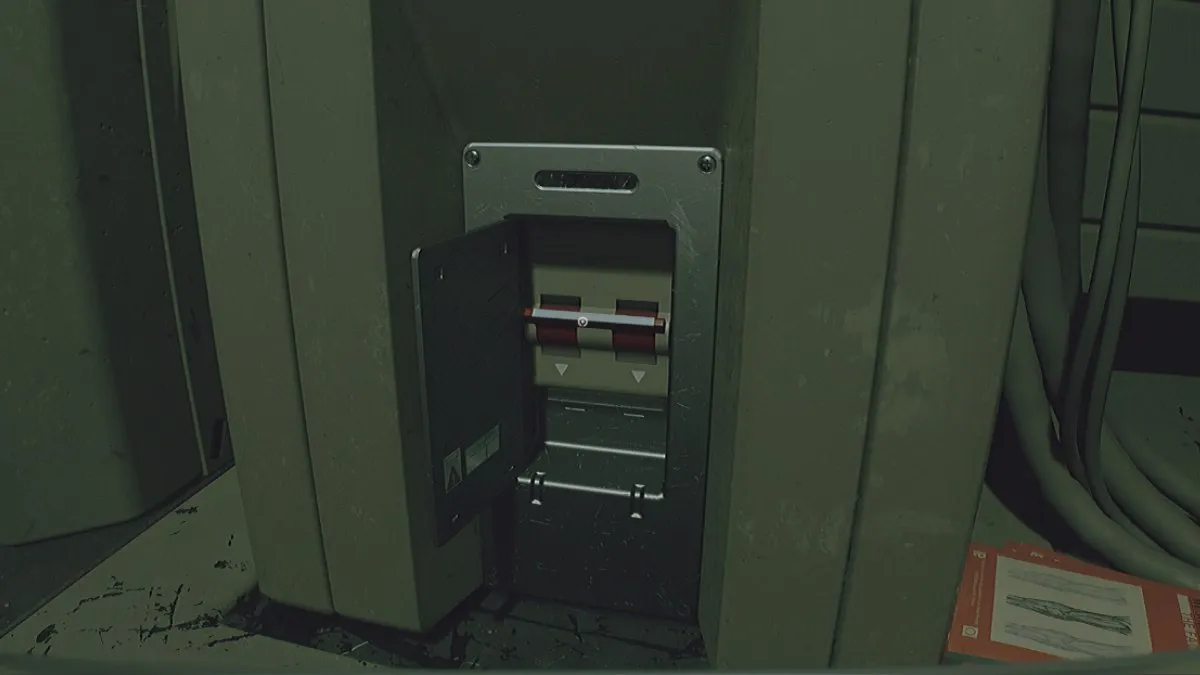
To open the gate on the proper, you may overload the fuse field on the wall by pointing and capturing your CAT.
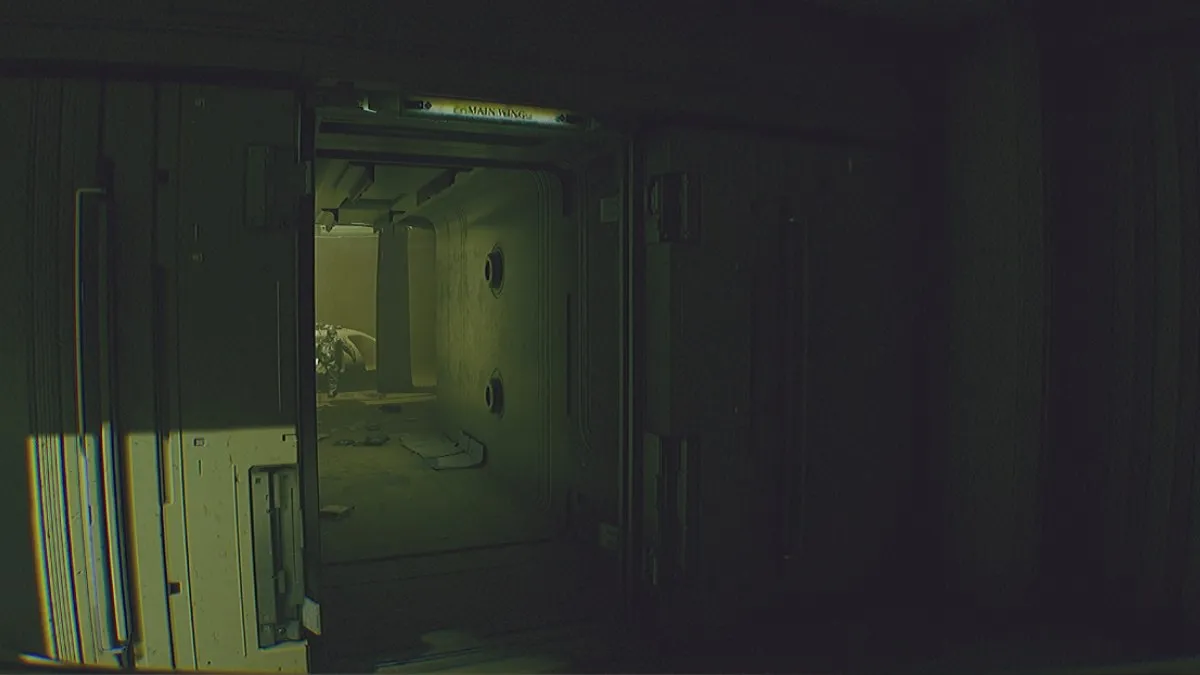
Go straight and enter the prepare. Choose Mall as your vacation spot.
Chapter 2
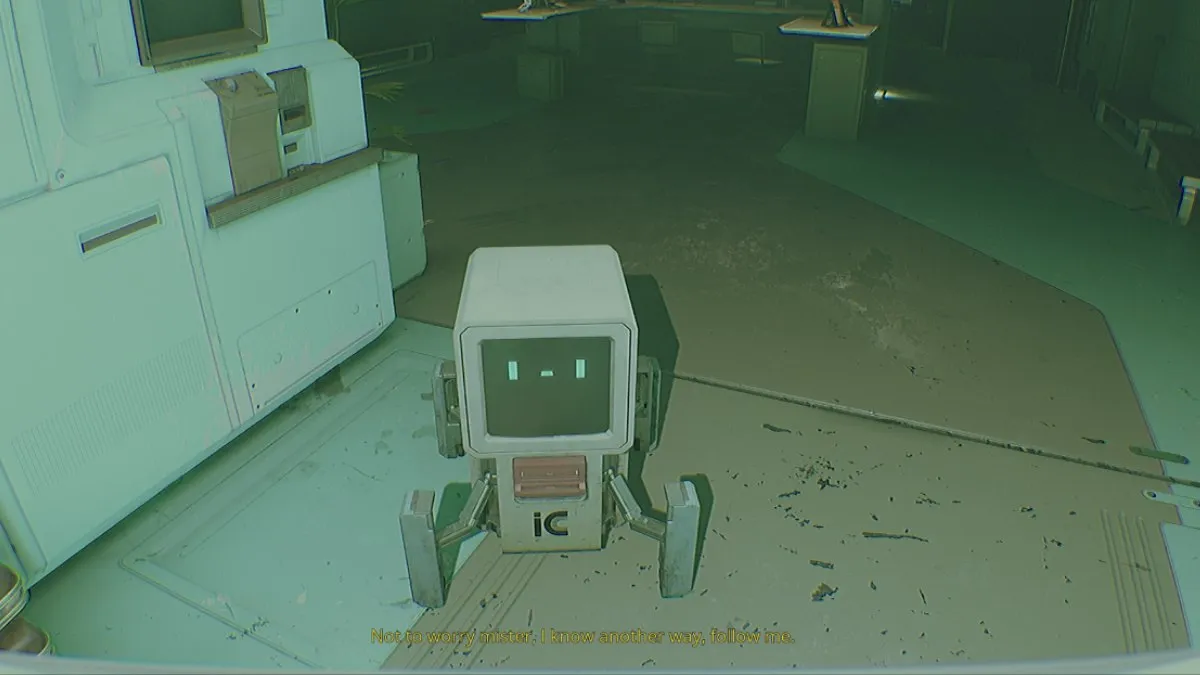
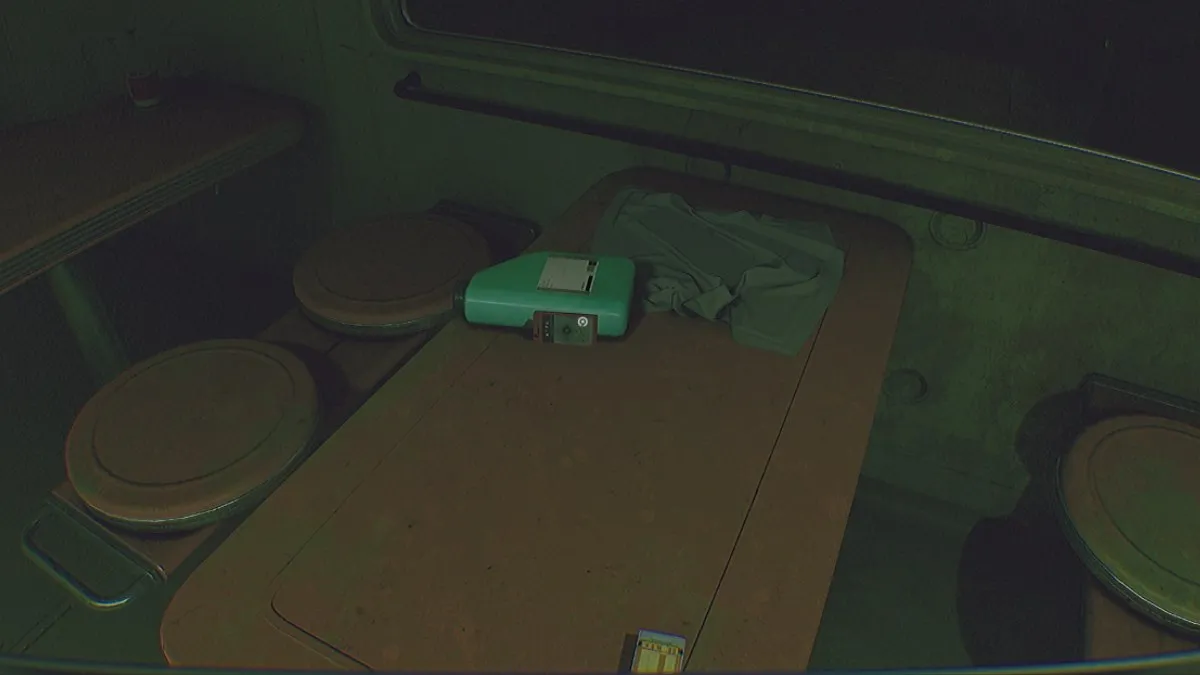
Go forward and choose up the battery on the counter. You’ll be able to obtain help from a cute little robotic by working the buttons on the counter.
observe the robotic
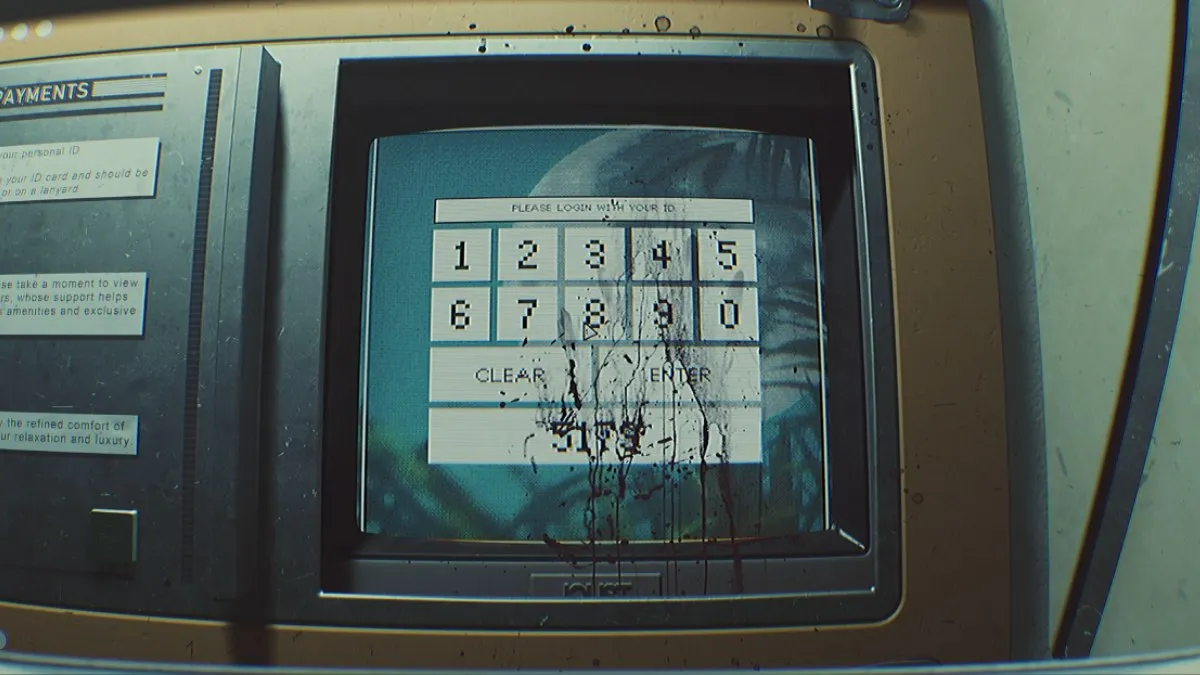
Function the terminal and enter the ID card code. You’ll be able to examine this by trying down at your chest.
Comply with your cute robotic buddy down a scary-looking upkeep ladder.
Head to the proper and overload the CAT into the fuse field on the left.

Crouch and crawl by way of the slim vents that can be unlocked right here (there are lots of these).
Use the deep crouch controls (CTRL+Area+S) to press the lockdown button beneath the desk.
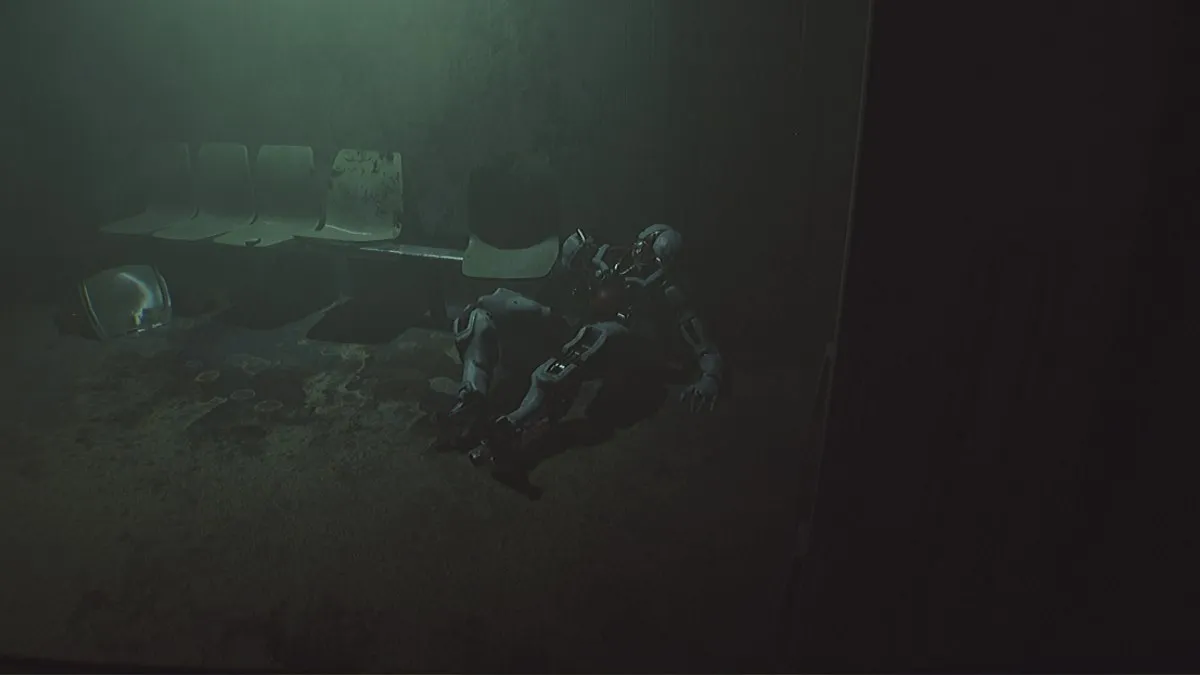
run away from robots
Cover in a nook or get able to sprint as Killer Robotic 05 cuts by way of the door. You’ll be able to stand up to blows from them. They’re scary, however simple to outrun. Word that there’s a checkpoint on the left to save lots of your recreation.
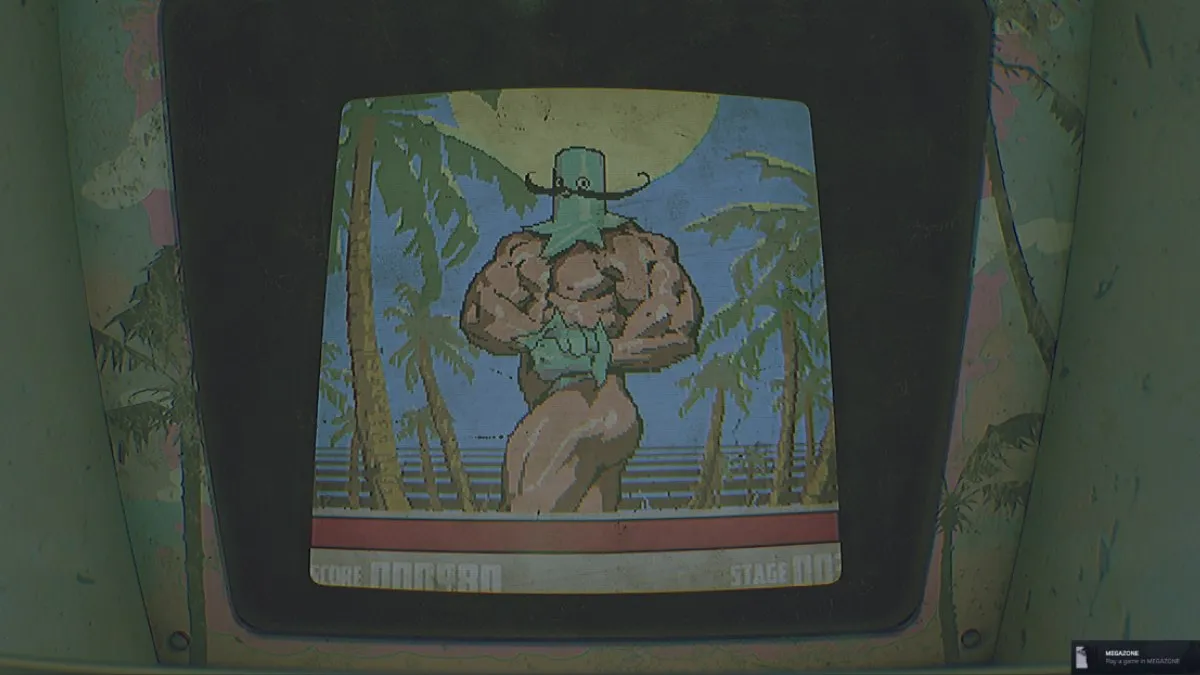
Three robots will patrol the world. Exit the room and switch proper, left, after which proper till you see the Megazone retailer. Crouch down and go inside.

Be happy to play the non-compulsory Out of Place Bodybuilder Pose recreation in your console (my excessive rating was 9000).
Acquiring the Ultraview module
Shoot the fuse field on prime of one of many arcade machines in Megazone and head contained in the workplace. Launch the shutters to O’Neill’s electronics retailer.
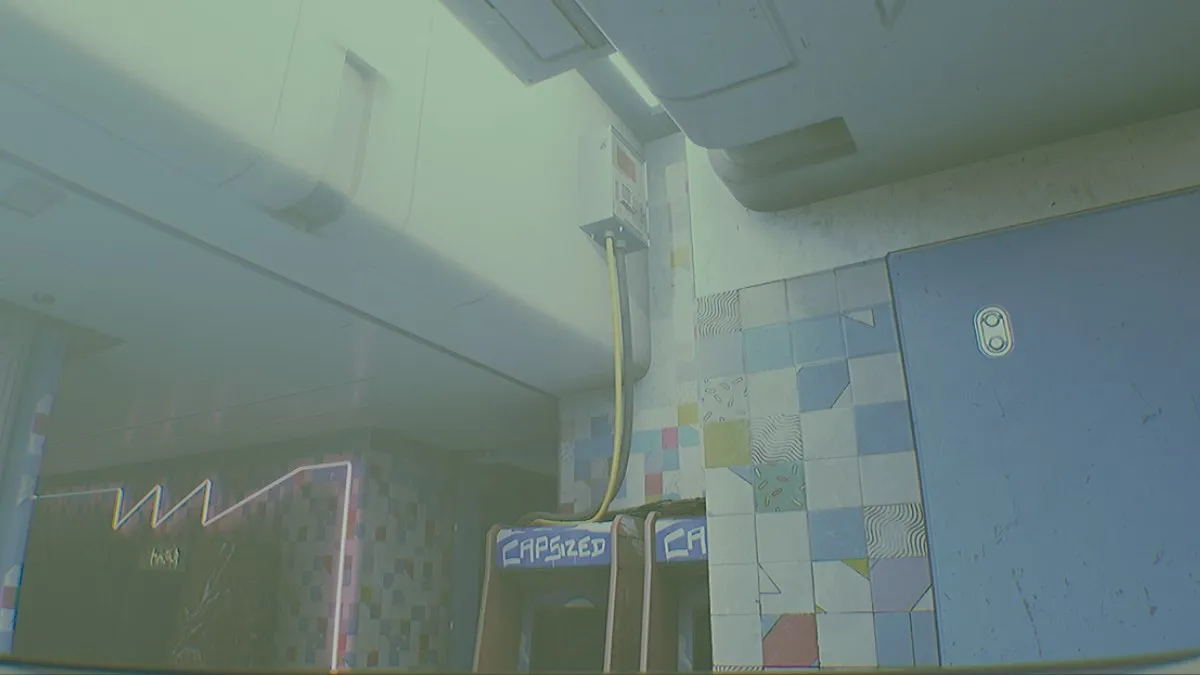
Exit the Megazone and switch left into the blue youngsters’s space. Proceed on and crouch beneath the shutter to succeed in O’Neill’s store.
Choose up the Ultraview module from the pedestal within the retailer and function the terminal on the again.
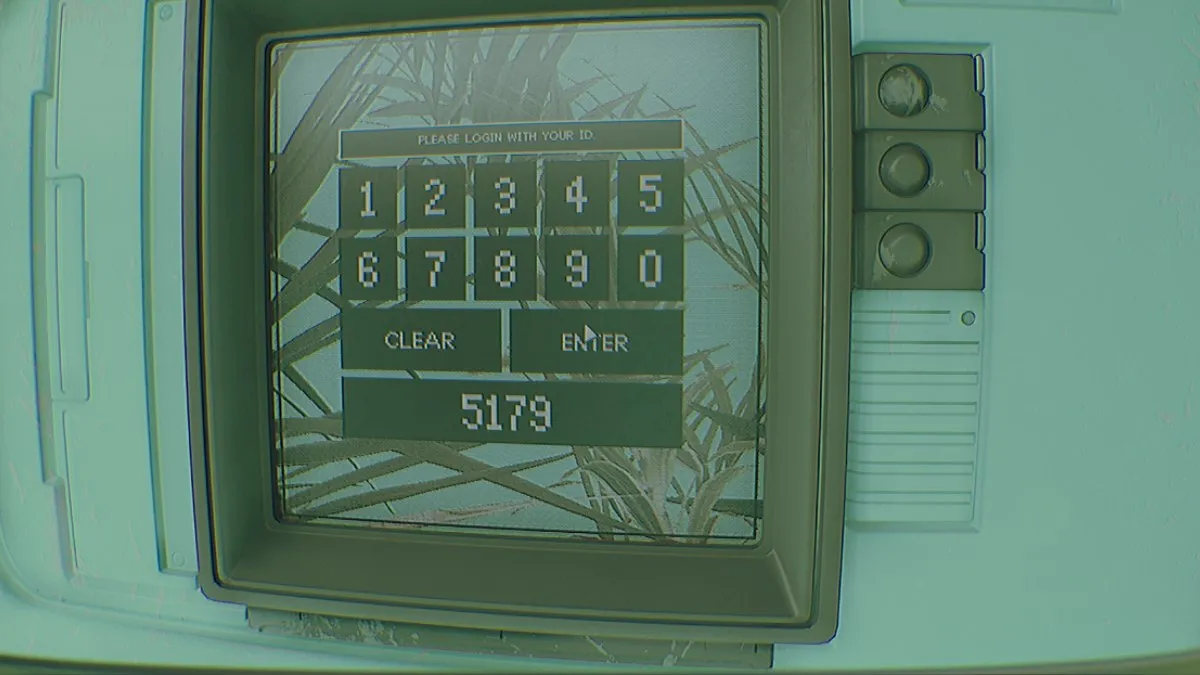
o’neil electronics password
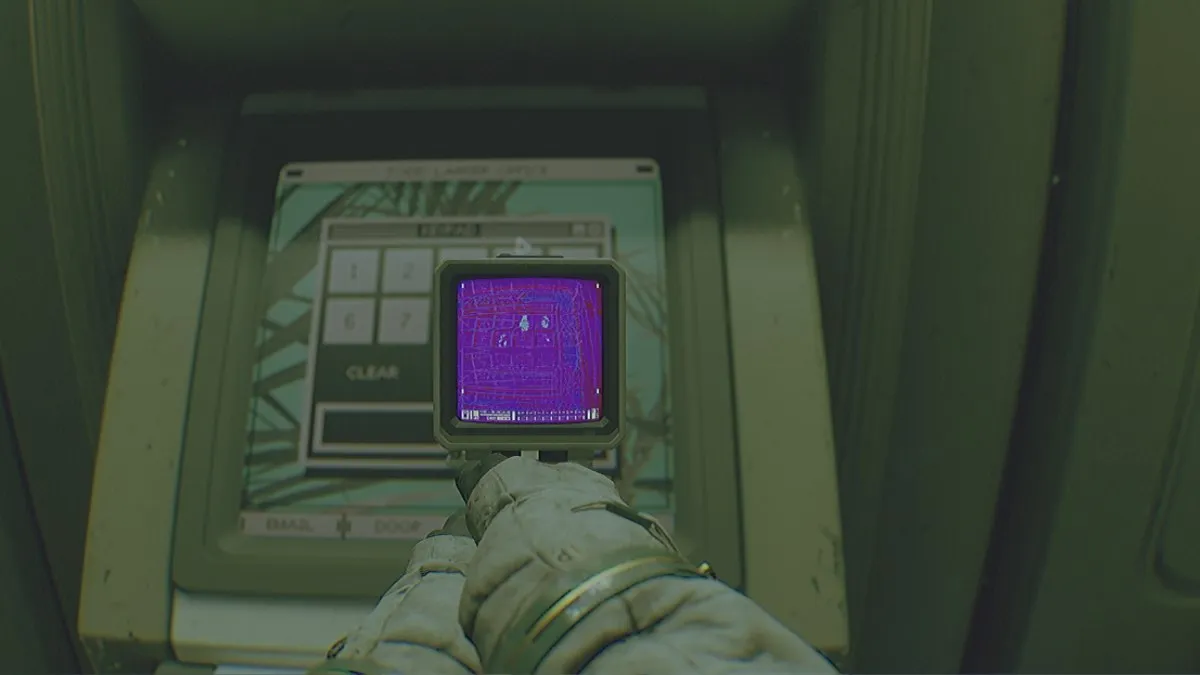
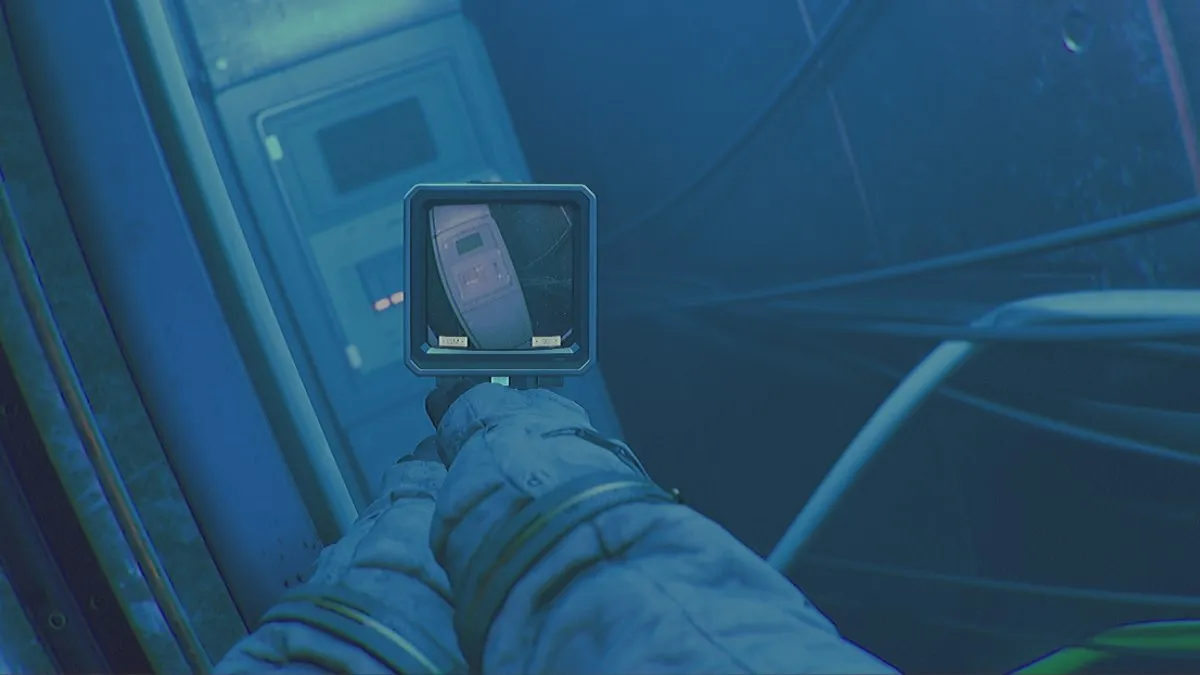
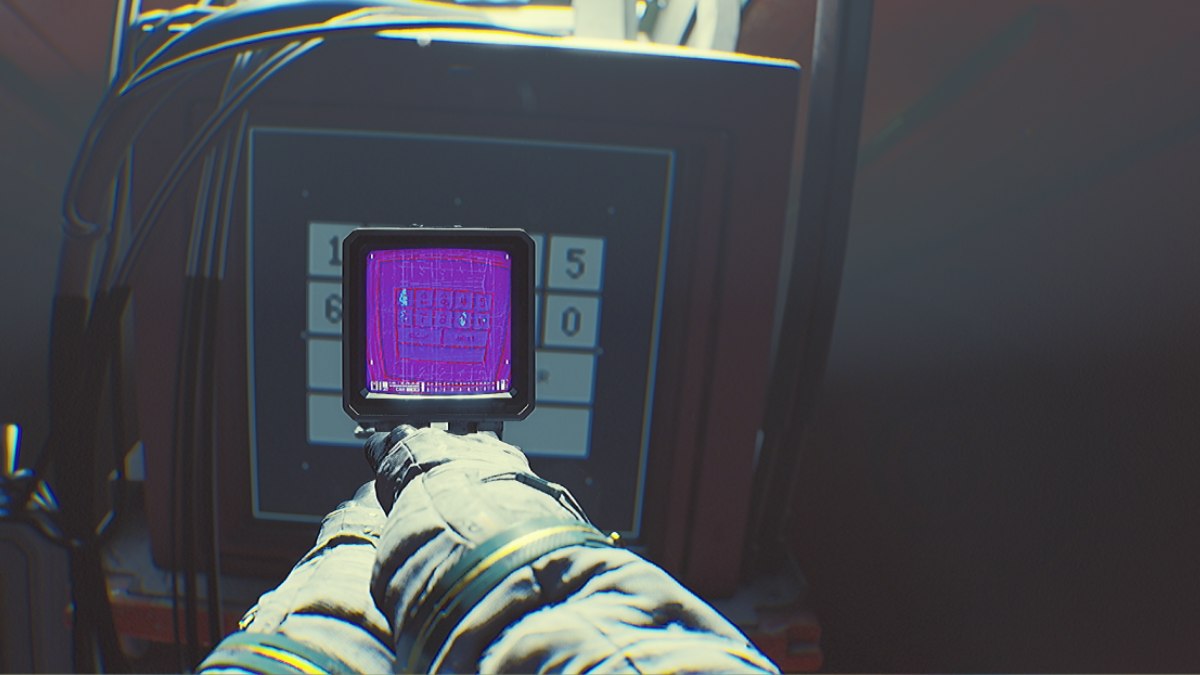
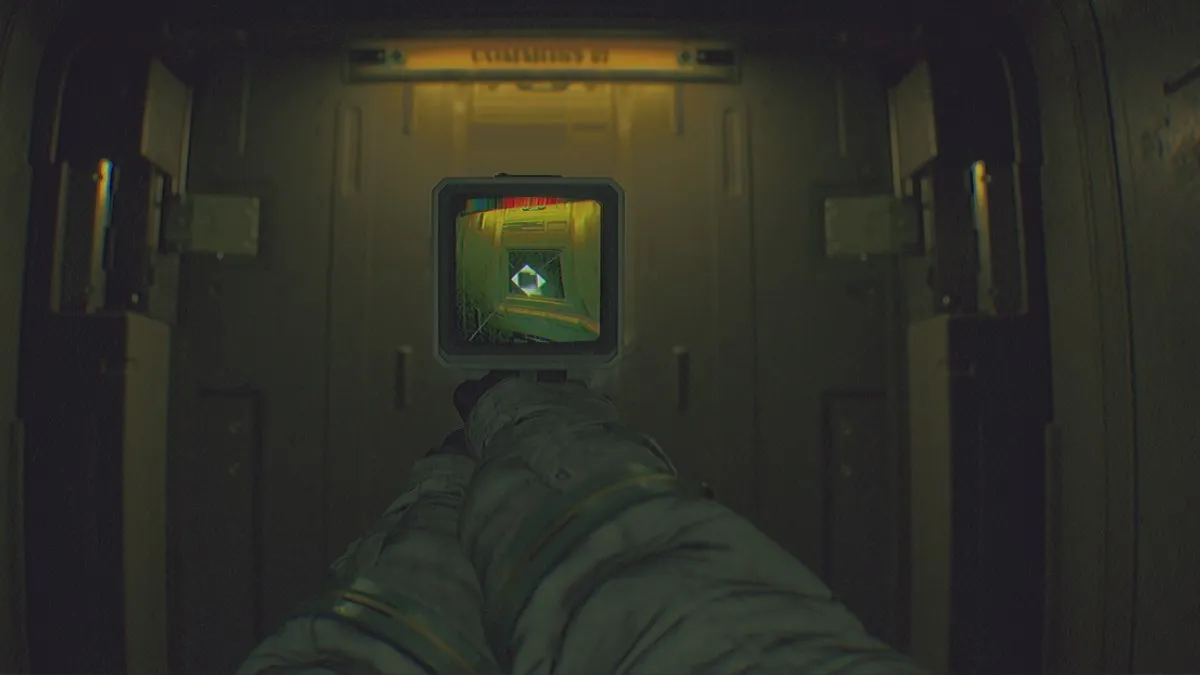
Shops go into lockdown and have to seek out pins. Use Ultraview mode (toggle by inspecting and interacting with CAT) and level it on the console. Fingerprint marks can be displayed. Password is 4579.
exit the mall
To exit the mall, you will need to reset the fuse field on the left aspect of the mall from the room you entered. There are robots right here, however you may simply outrun them.
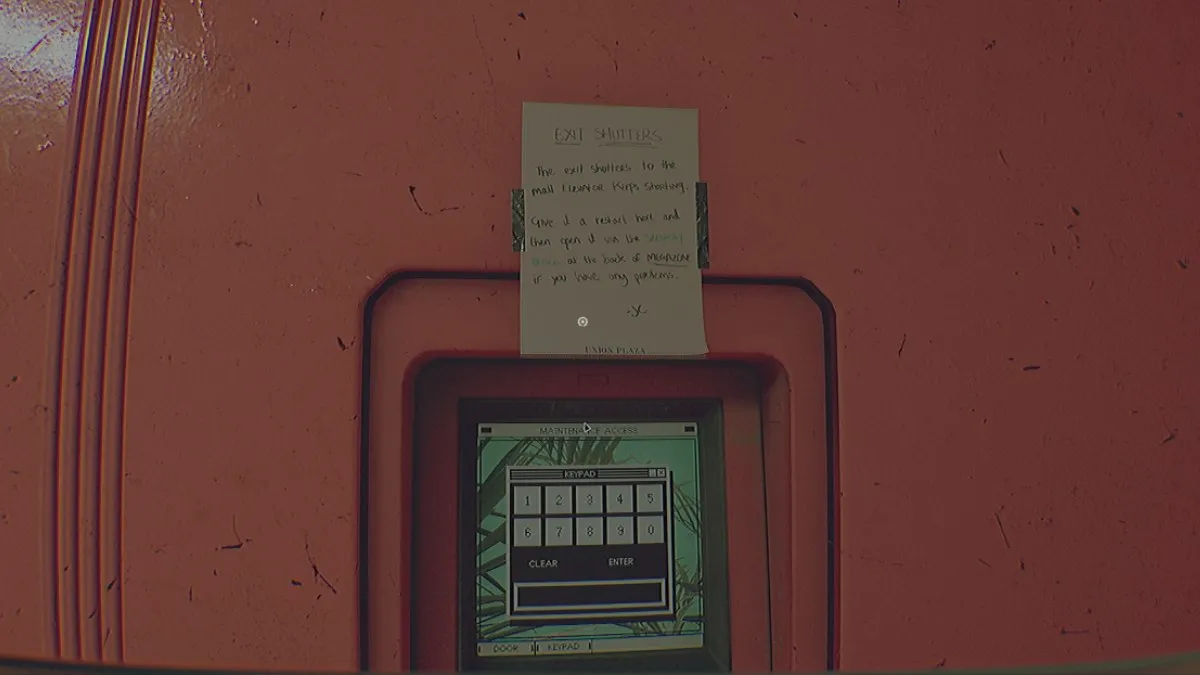
Use the Ultraview module to retrieve locked door pins for exit shutter upkeep entry. The pin is 1842.
When you go inside and look to the proper, you may clearly see the fuse field inside.
Subsequent, return to John’s workplace behind the Megazone and open the exit shutter.
Watch in horror as the sport’s solely signal of friendship is torn aside earlier than your eyes. The robots listed below are out of the way in which, so convey out your stun gun. Run in the direction of the exit shutter.
enter the residential space
Take the elevator again to the station and board the prepare. Choose housing as your subsequent vacation spot. When you arrive, save your recreation and proceed.
Reactivate the disabled residential elevator door entry terminal by crouching and working the underside lever twice. Please exit the elevator.
Enter your ID within the terminal on the left and watch a pleasant little advert earlier than the Terminator exhibits up and cuts you off.
Run straight and observe the proper aspect. Now use CAT to overload the fuse field.

Use the damaged robotic to enter the again space, however watch out as it can additionally begin patrolling this space.
enter the reception room
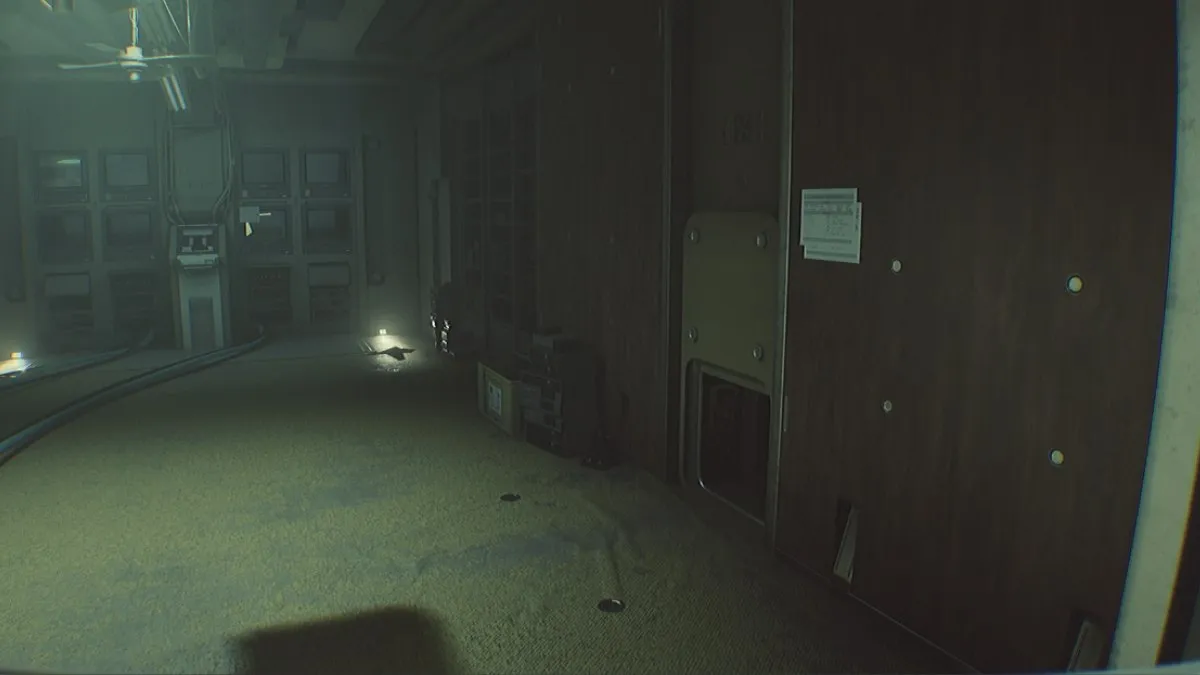
From right here, go left and maintain going till you attain the statement room.
Use surveillance cameras to acquire incoming passcodes. The reception passcode is 9745.
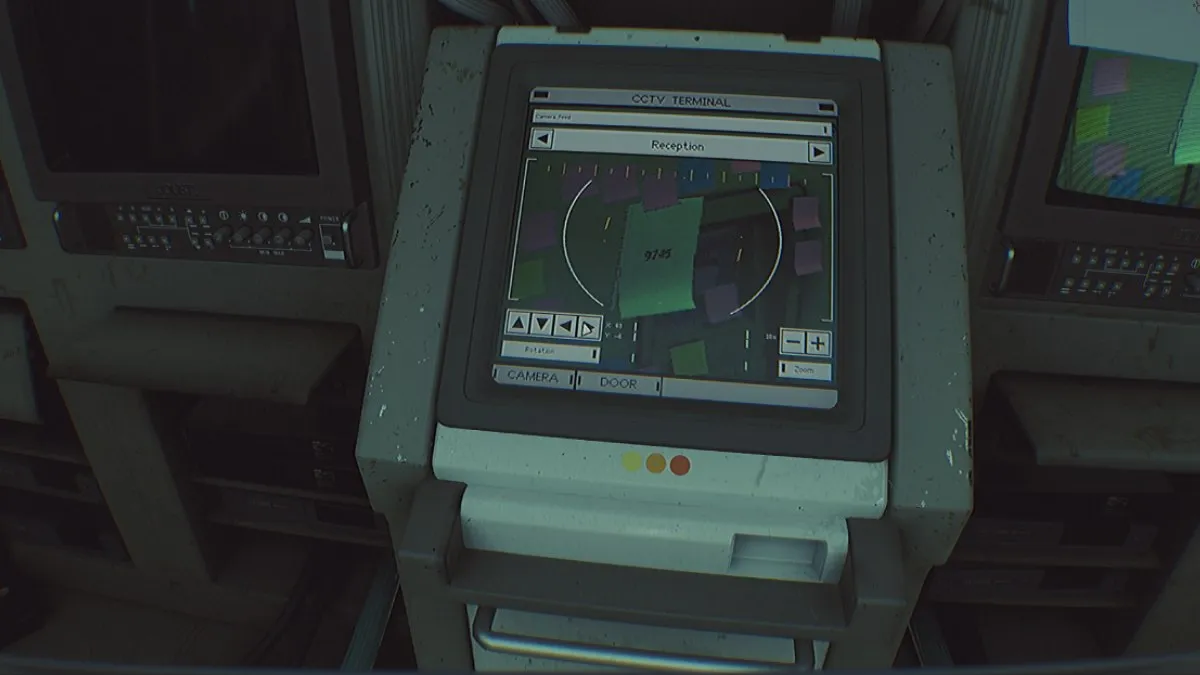
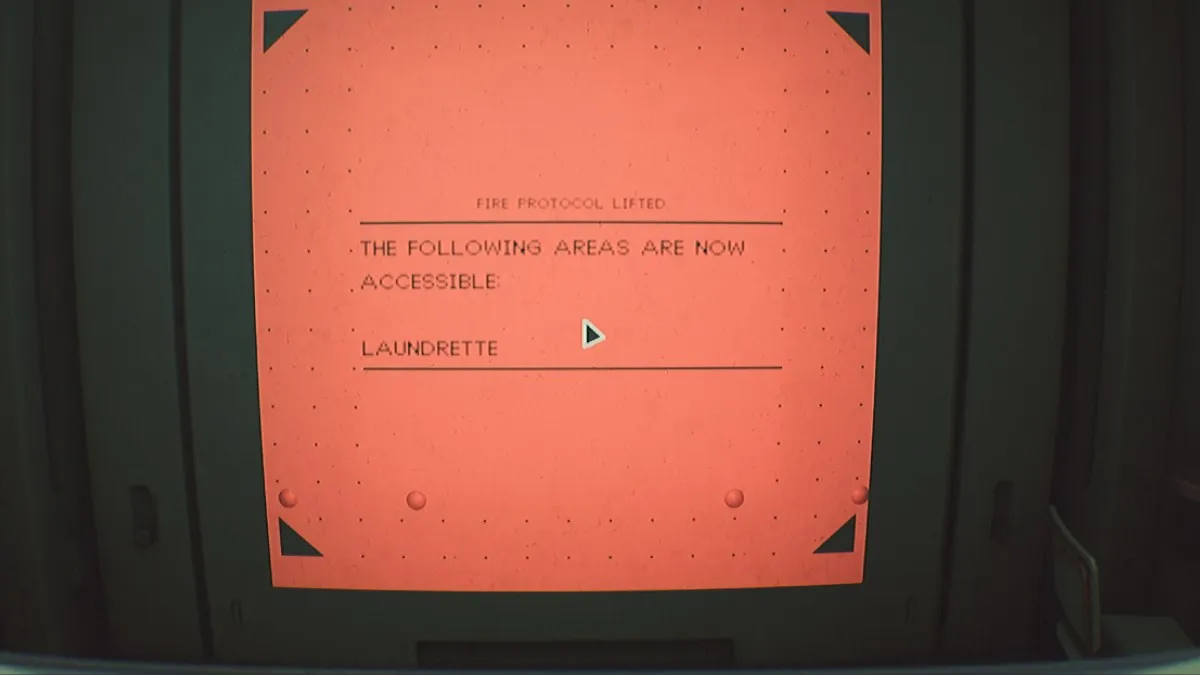
Exit the door and go straight, then flip left, then left, avoiding the robots. Enter the reception room and work together with the display on the wall to unlock the coin laundry.
Receive Kei Koyama’s ID card
The coin laundry is true subsequent door, so head again to the statement room.
Go downstairs and enter the workplace within the again. There’s Kei Koyama’s card key on prime of the terminal right here.
Return to the exit by way of the vent (different routes can be locked) and take the prepare again to the arrival station.
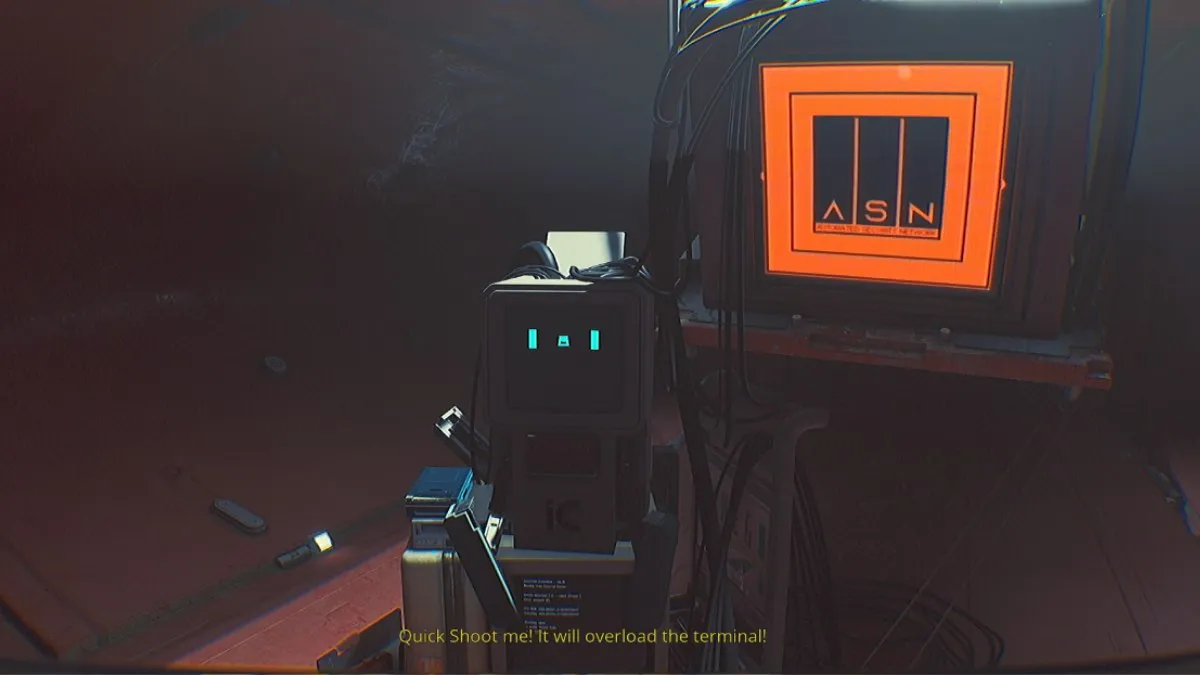
Open ASN terminal
Return to the primary terminal, which protrudes from the ceiling of the station. Scan Kei Koyama’s card and use the Ultraview module to retrieve the safety PIN. The pin is 1960.
Use CAT to overload the system and honor his sacrifice.
Subsequent, take the elevator into the ASN Core.
Chapter 3
Chapter 3 is an easy puzzle to deactivate an ASN.
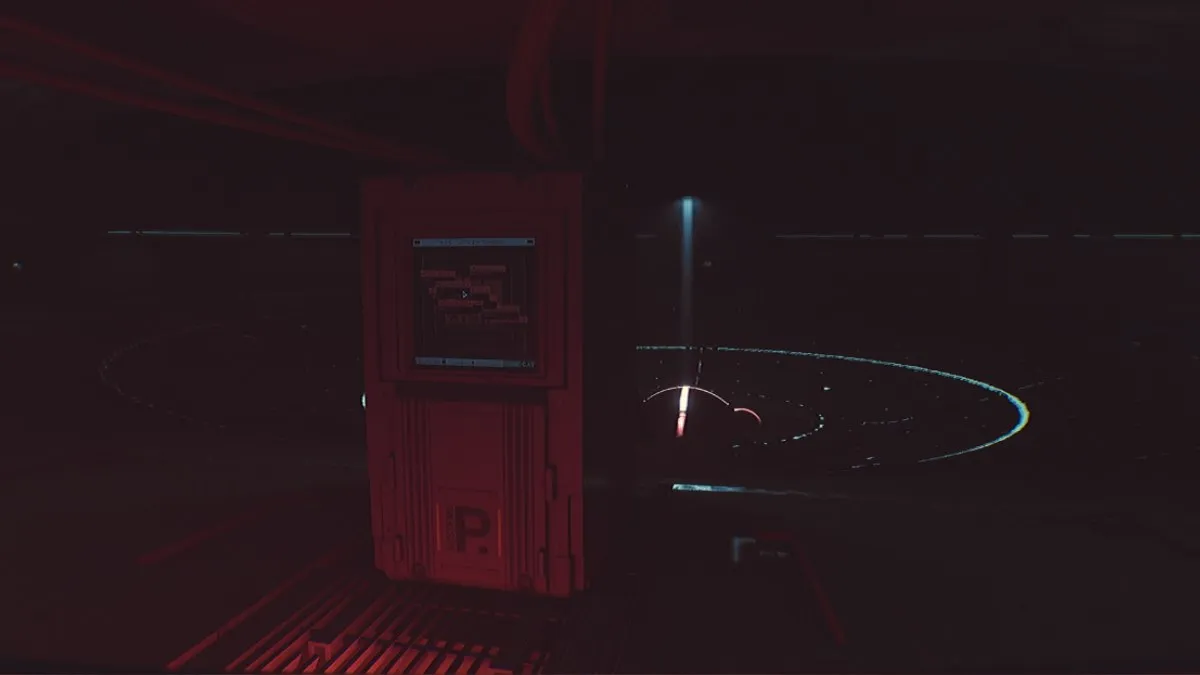
The right way to deactivate an ASN
Work together with the primary terminal to provoke a shutdown.
Work together with the second terminal and manually decrease the levers labeled A3, A14, and A15.
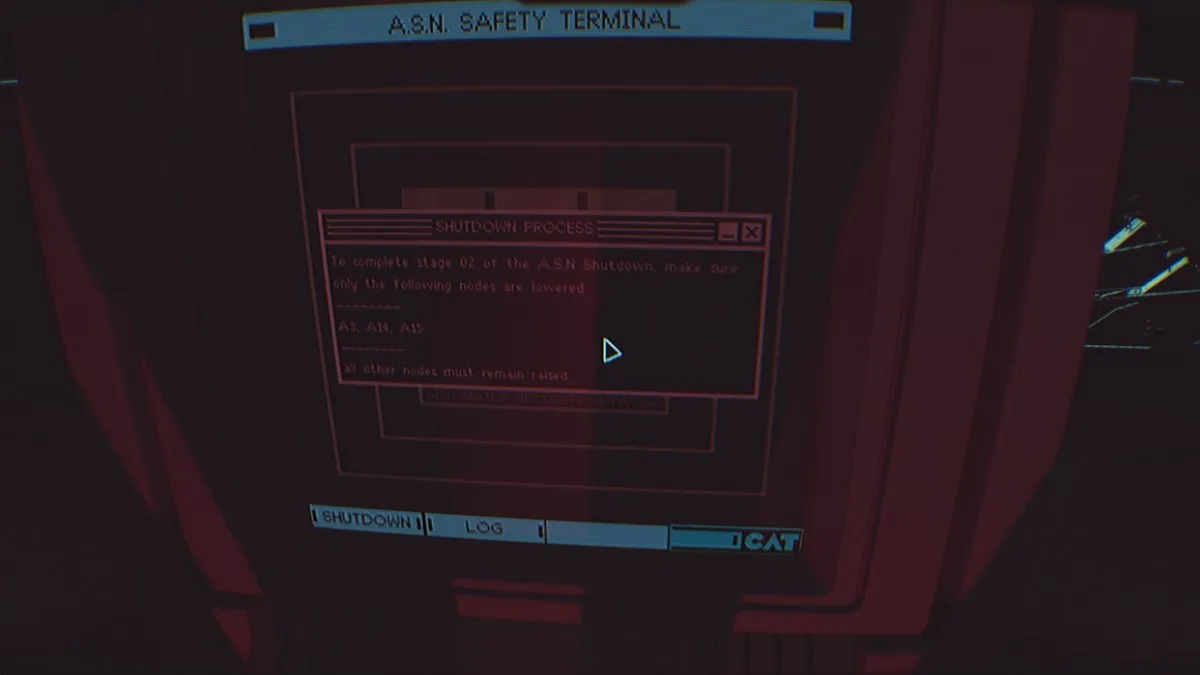
Function the 2 core levers that seem and hearth the ASN core on the CAT.
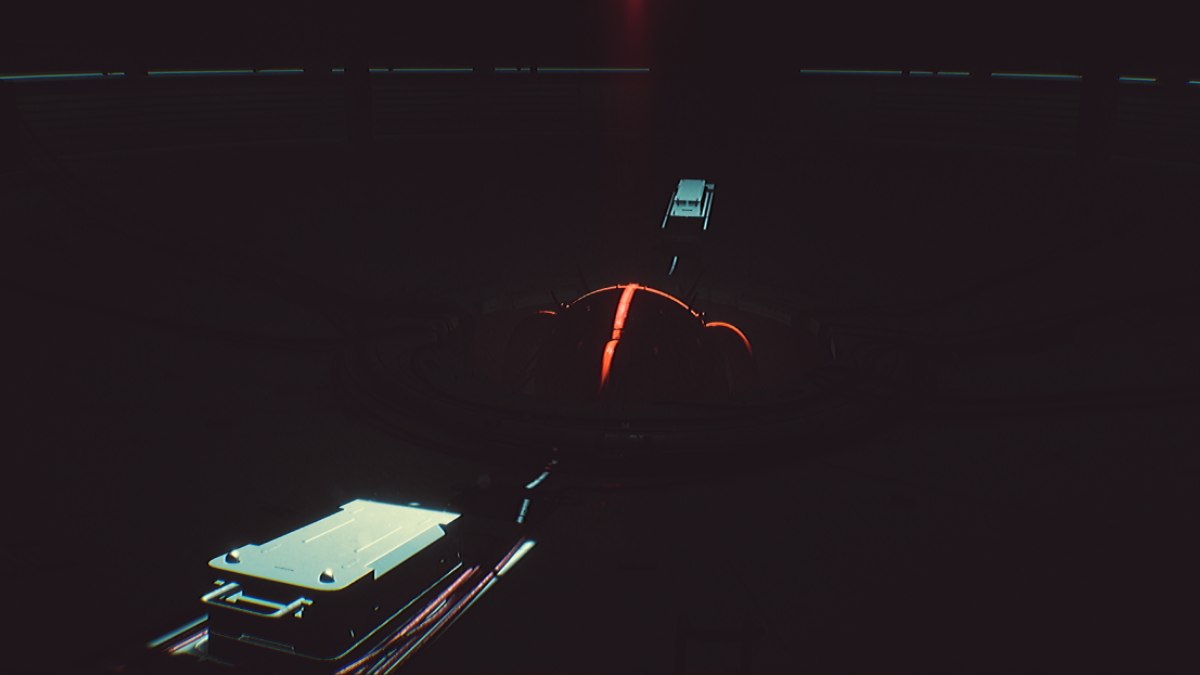
There aren’t any extra killer robots on the moon and our little good friend has been avenged. Relaxation in peace, little buddy. However issues aren’t over but.
Chapter 4
Exit the room and enter the slim passage on the left.
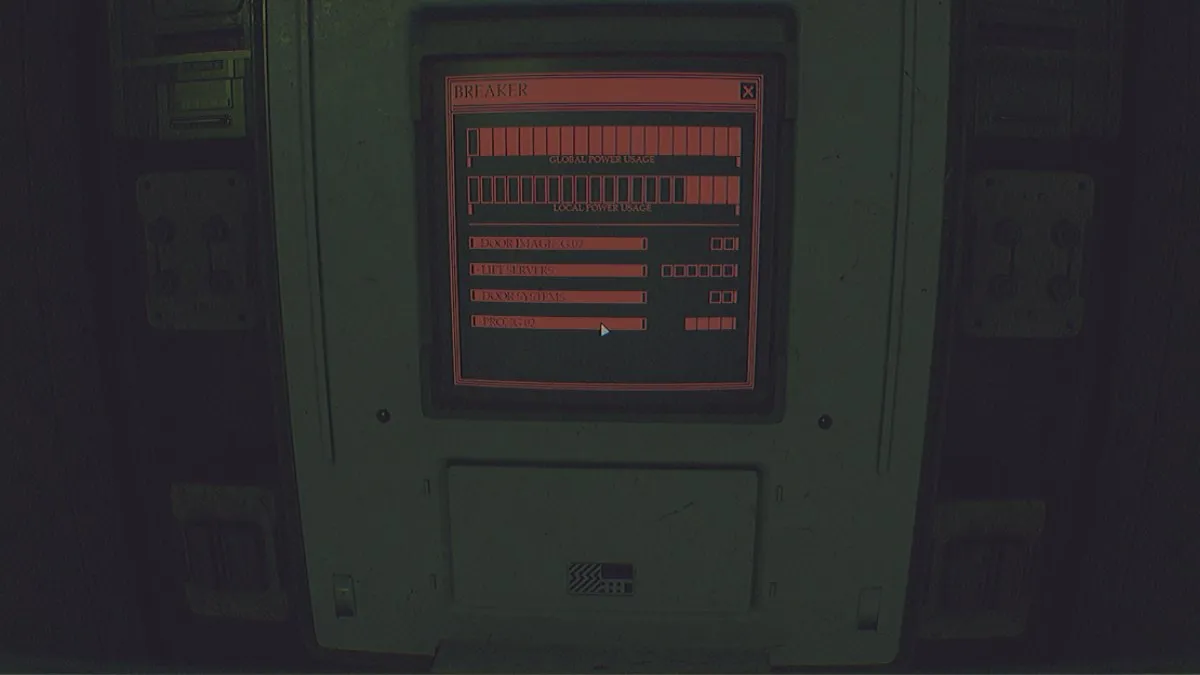
Crawl into the vent on the proper and journey all of the breakers.
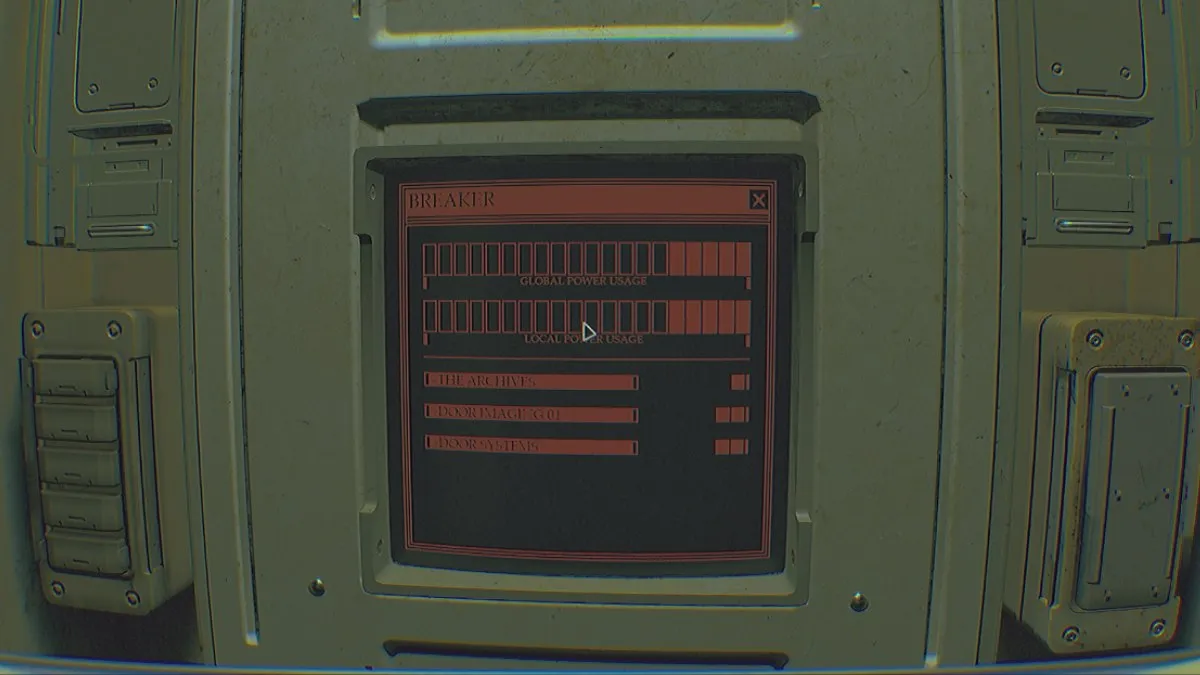
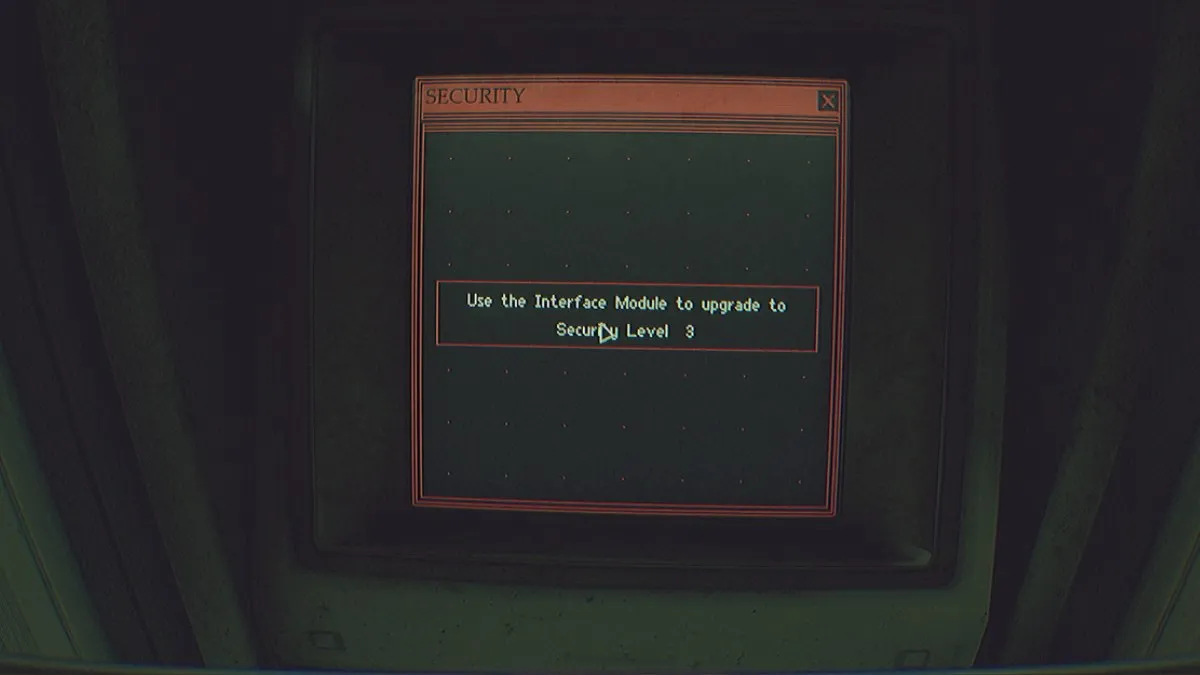
Function the archive display that seems. You will notice {that a} safety clearance module is required.
Go ahead and enter the door on the left. Undergo the vent on the left till you enter the reception room.
Get the Safety Clearance Module from the desk on the proper aspect of the reception room. Now you can equip it by inspecting the CAT and unlock the door on this space at Safety Clearance Stage 1.
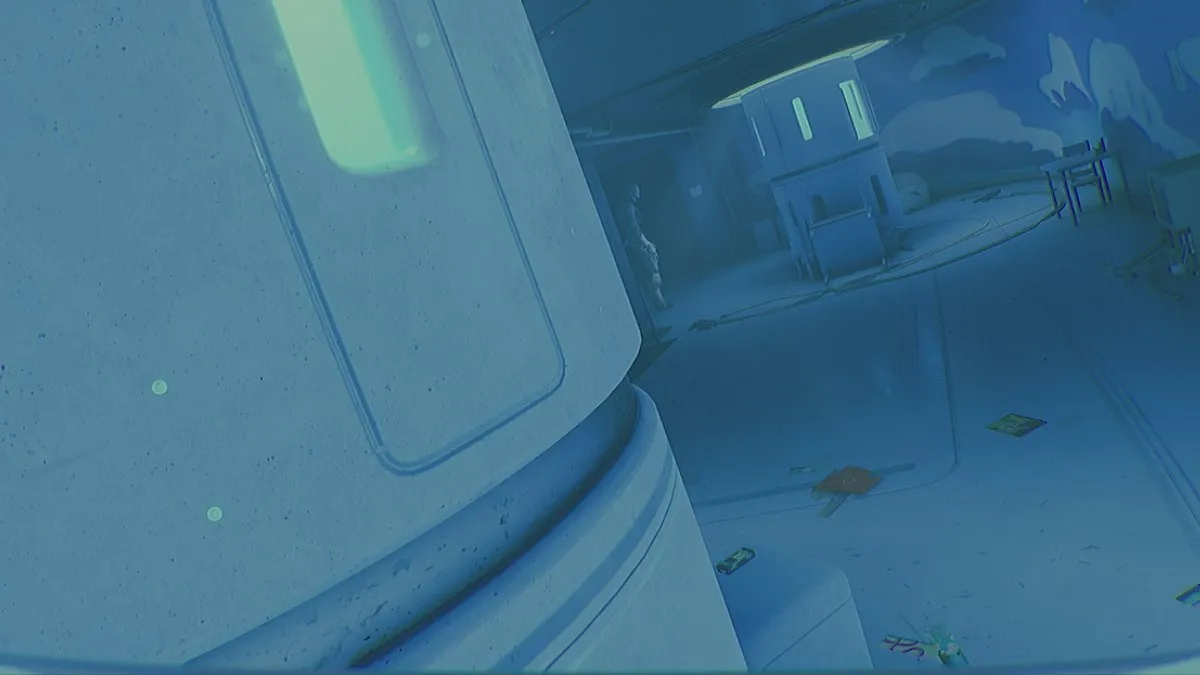
Activate the door to the commons and go inside.
Find the server elevator circuit breaker. The elevator is situated close to the commons kitchen-like space. As soon as inside, make sure to press the down button.

After connecting the CAT, go to the terminal downstairs and run the diagnostic device, which is able to record the broken module.
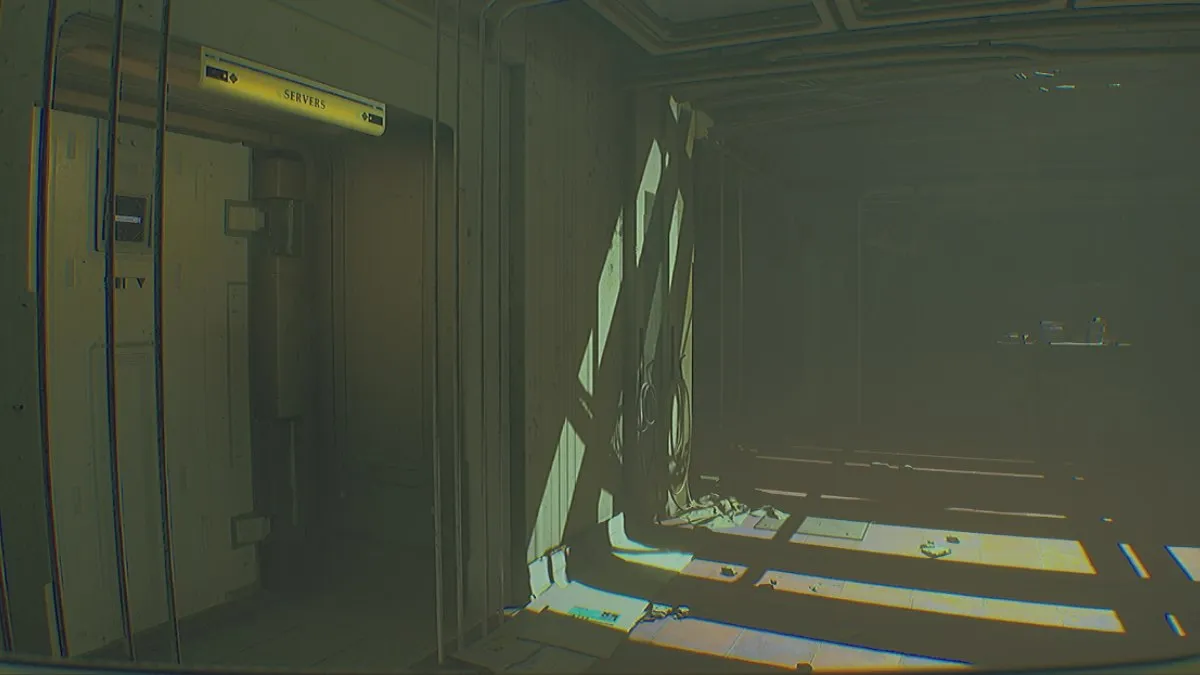
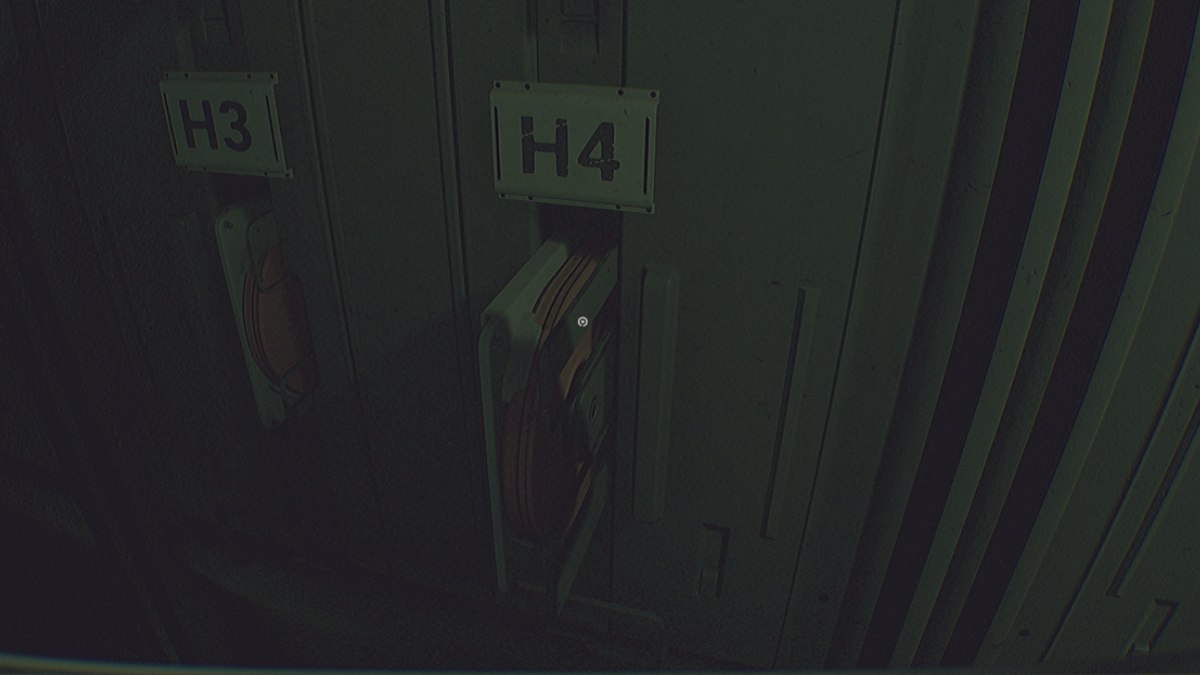
Pull out all 4 broken modules (E2, B3, F3, and H4) labeled on the server rack. Restart the server. Sadly, this additionally attracts one thing a lot worse than killer robots. Get able to die with numerous scary animations.
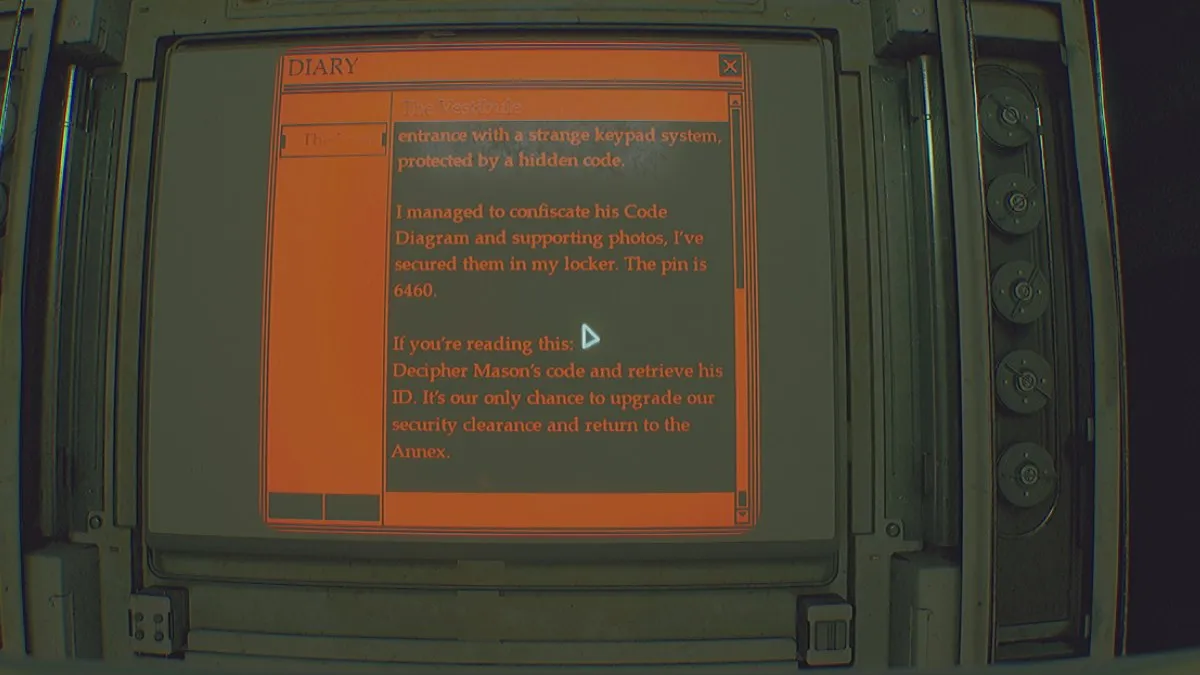
open chalice locker
It should take some time for it to seem, so hurry up and return to the archive display and restart. Test your e-mail and you will find the pin quantity for Charis’s locker. Kalis locker pin is 6460.
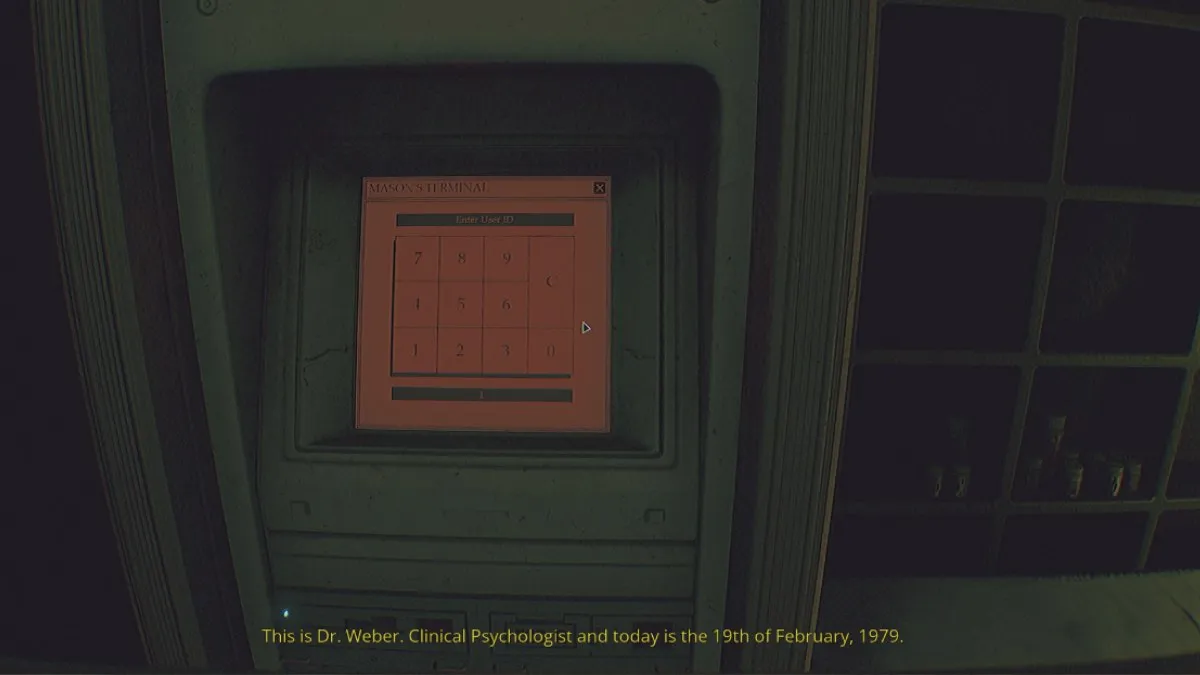
crack mason’s code
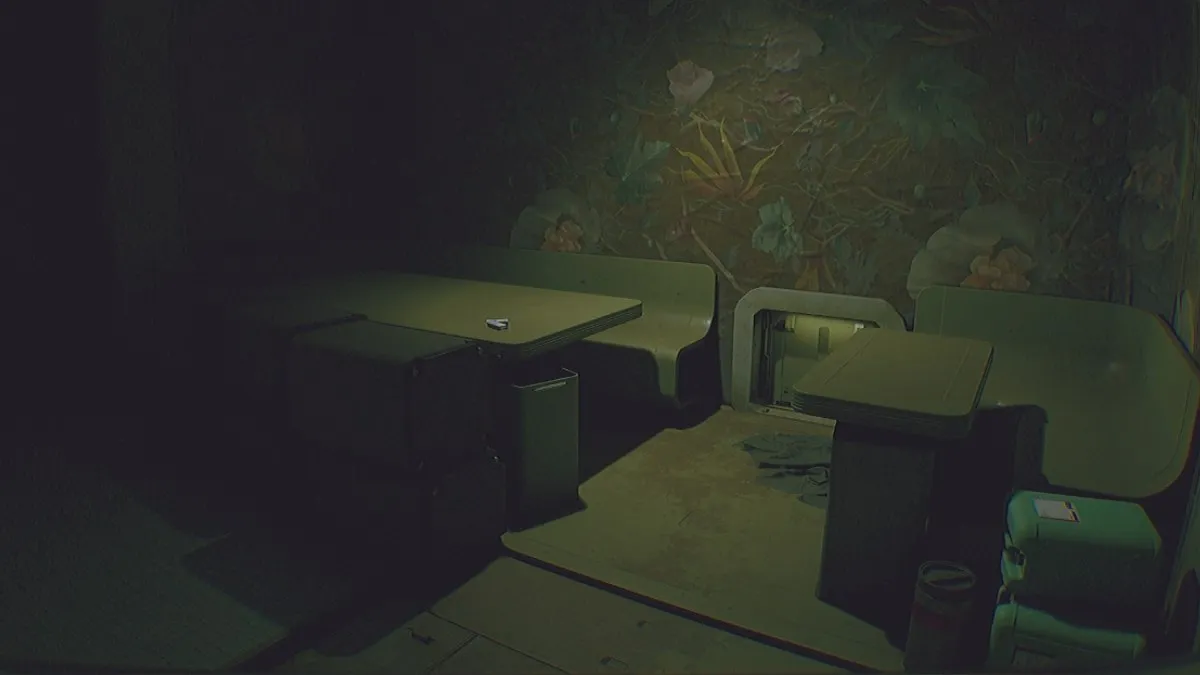
Go to her locker and you will see that a code sheet and 4 images. The code sheet has an emblem on the entrance and a corresponding quantity on the again. Be sure you rotate it as it’s simple to overlook.
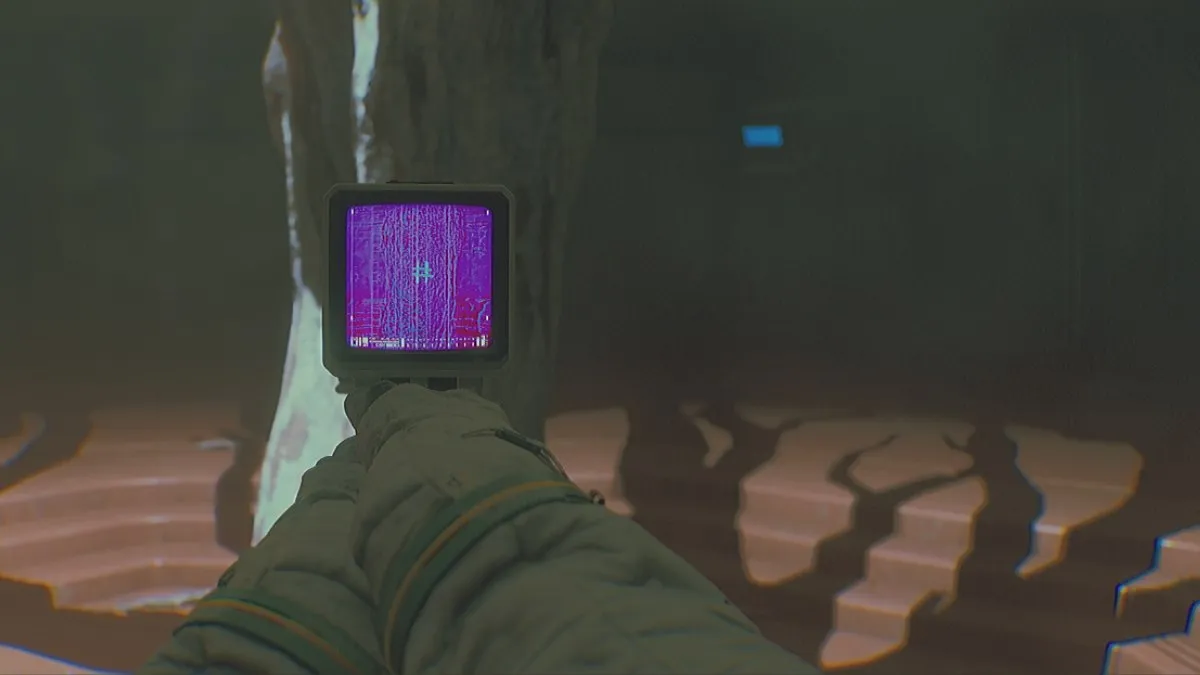
The picture within the locker is the place you could find the image for the Ultraview module on the CAT.

The areas embody an apple tree, a reception room, a rest room with a numeric keypad, and a wire close to the middle of the commons.
The answer to this puzzle is:
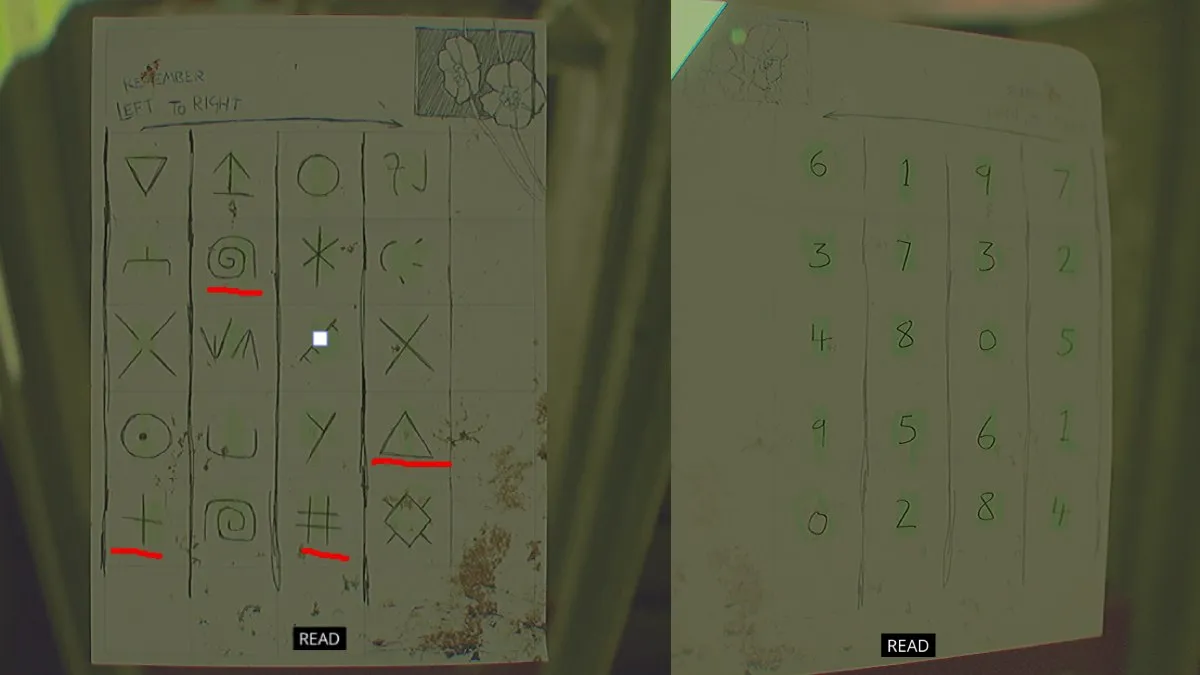
Because it should be learn from left to proper, Mason’s pin code is: 4329.
Please notice that this course of can be very tough, since monsters lurk within the halls. They typically disguise in corners and wait in ambush, and if caught, they are often killed in a single blow. This space is very tough to cope with, as they will sneak up on you from behind. We suggest opening as many doorways as potential so you may rapidly escape.
Obtained safety clearance stage 2
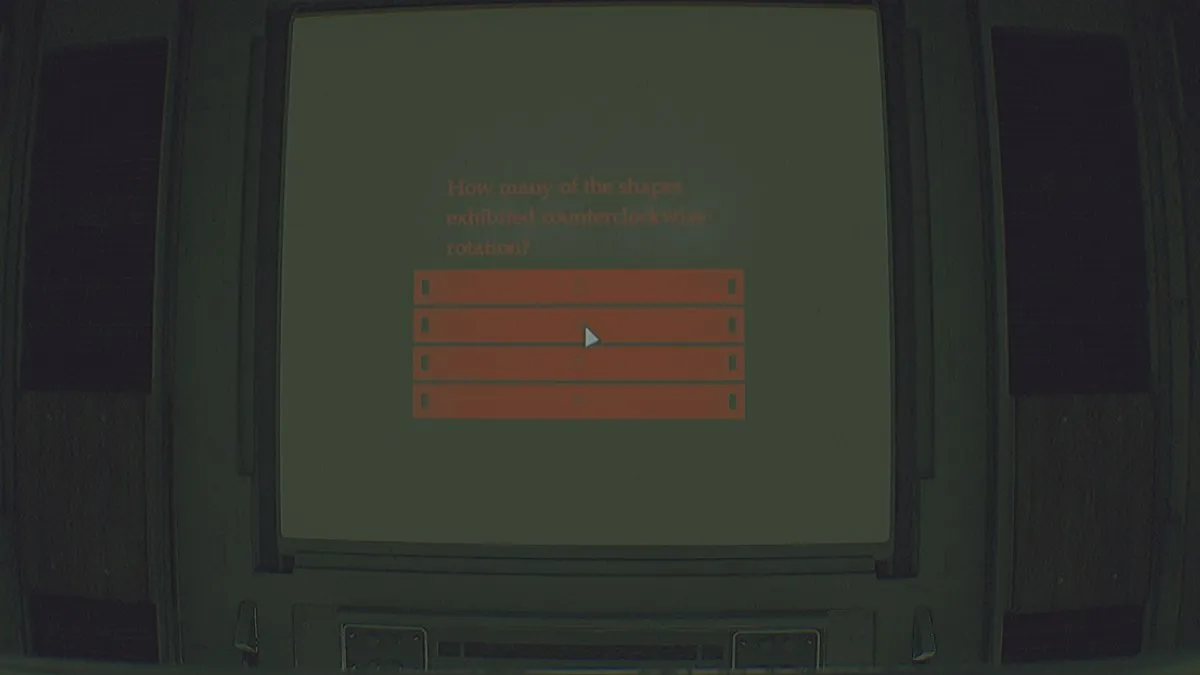
Now go inside and work together with the large display. You must go to the video testing room and the audio testing room one after the other. There can be no repercussions to your reply, so be at liberty to reply as you please.
Subsequent, head to the pool of drained water, crouch beneath the wall and discover a keycard with a pin. Return and enter Mason’s terminal behind the large display to improve your safety clearance to stage 2.
Now you’re prepared to make use of the elevator to go outdoors. Activate the elevator breaker in entrance of reception and take the elevator to the second ground utilizing safety clearance stage 2.
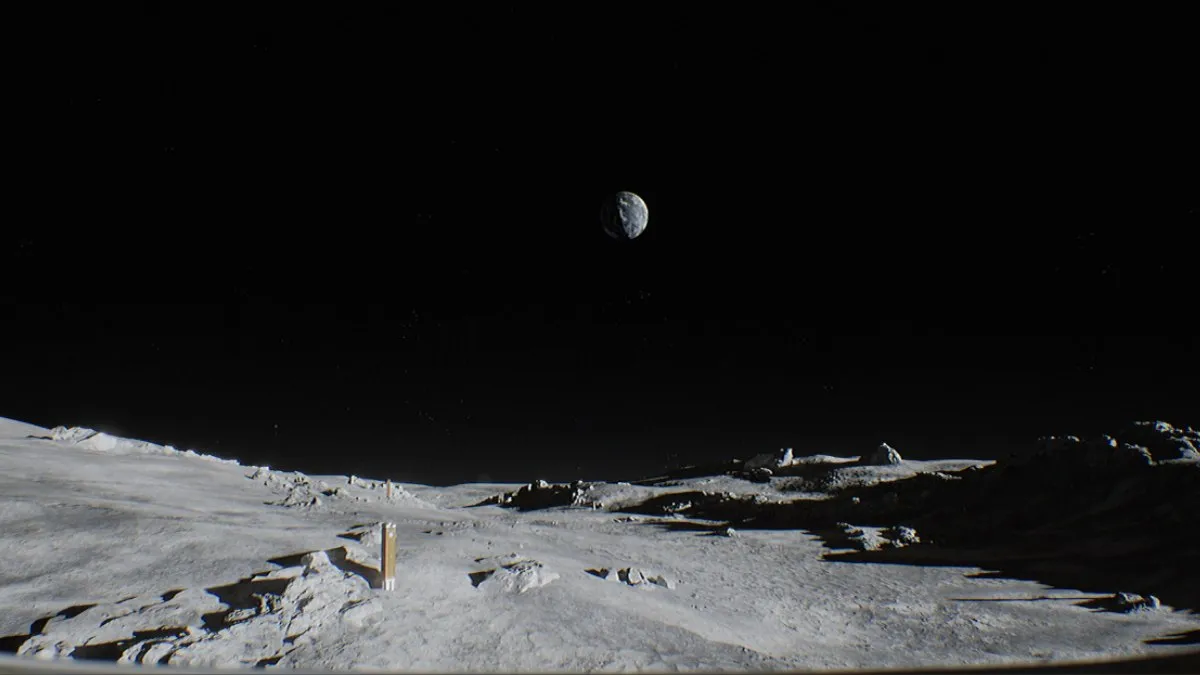
Chapter 5
Stroll on the moon and intention for the radio tower in entrance of you.
Enter the airlock and take the elevator to the annex. The principle management lab has an airlocked door that scans you however will not open till you clear up the chemistry lab puzzle.
Enter the door on the left and head to the vent within the room on the proper. Save your recreation and undergo one other vent into a big room.
Discover Maria’s keycard on the central desk and say good day to our previous good friend the strolling sleep paralysis demon. This bounce scare was not okay.
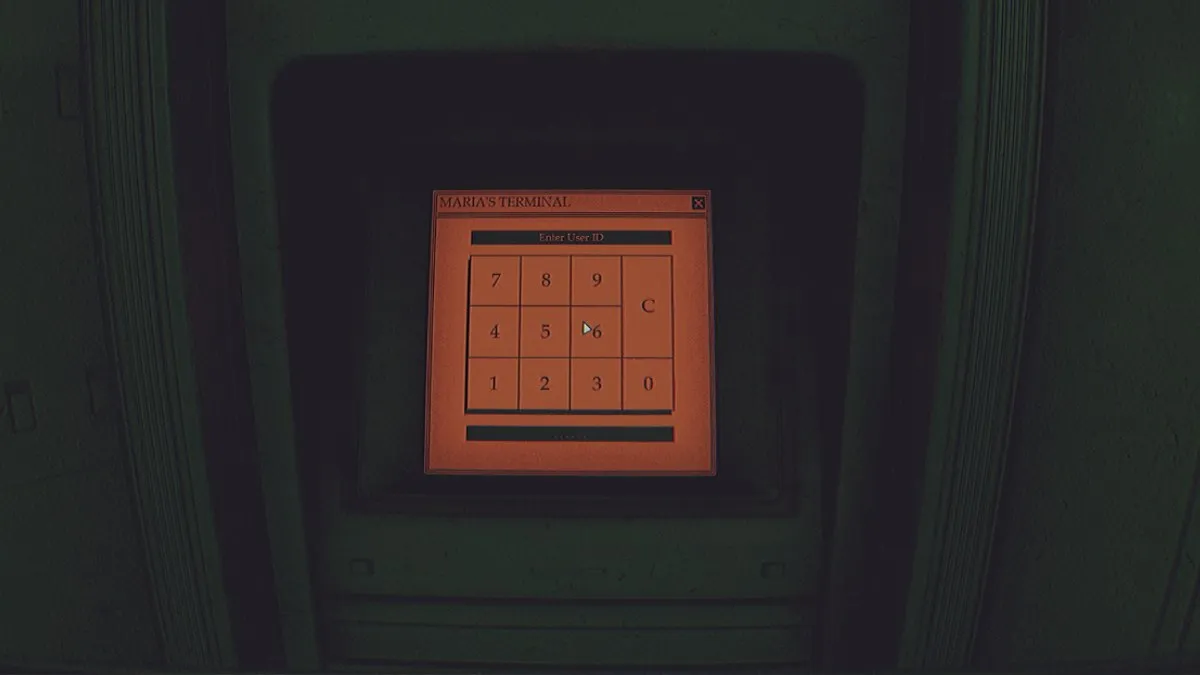
Enter the small room within the again and enter Maria’s ID. The code is 6175. This may open the door within the nook.
Chemistry Lab Math Puzzle
Following the trail will open a shortcut that may take you again to the primary hub space. Your objective is to seek out the vent subsequent to the desk and get to the chemistry lab.
Within the chemistry lab, you will need to learn the notes and create the best decontamination method utilizing 4 totally different components. The answer is:
- Base: Isopropyl alcohol (IPA)
- Lively 01: Copper ion
- Lively 02: Hydrogen peroxide
- Stabilizer: EDTA
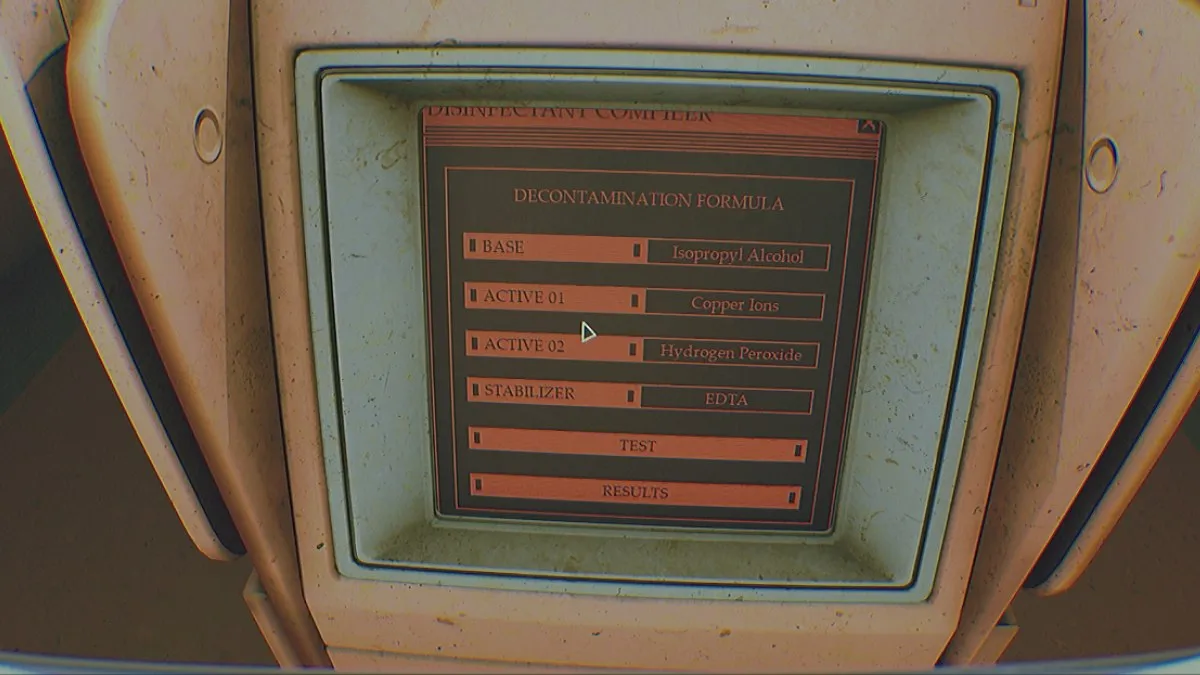
As soon as this process is full, return to the primary management lab within the first room.
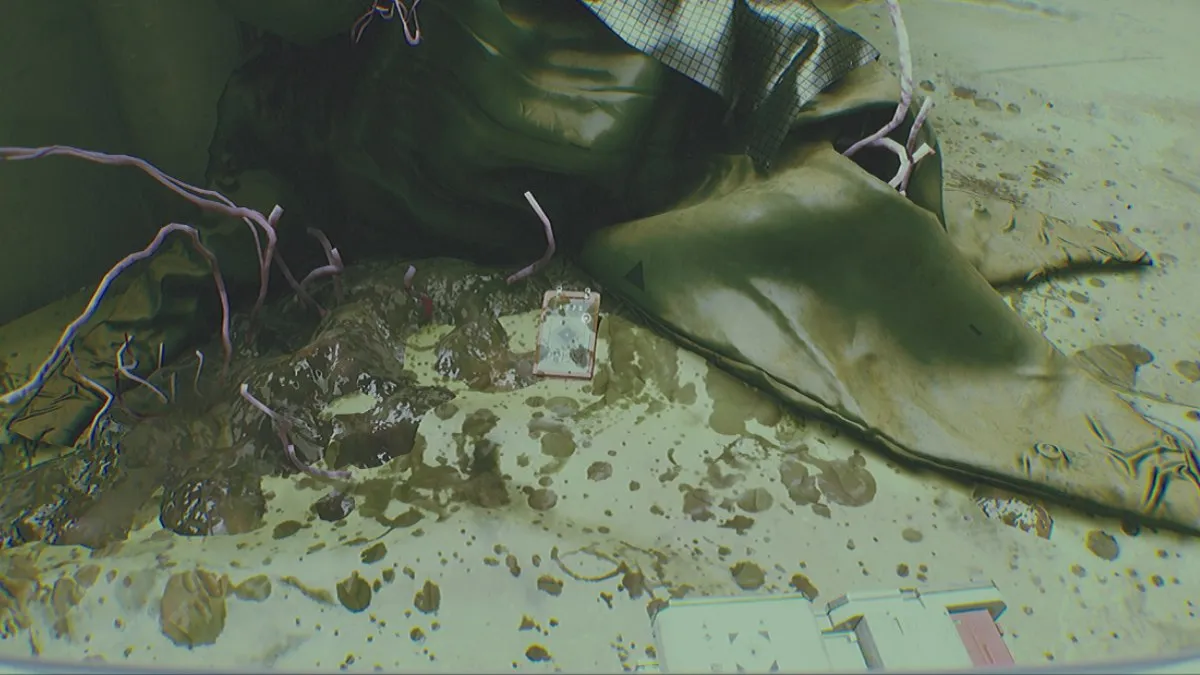
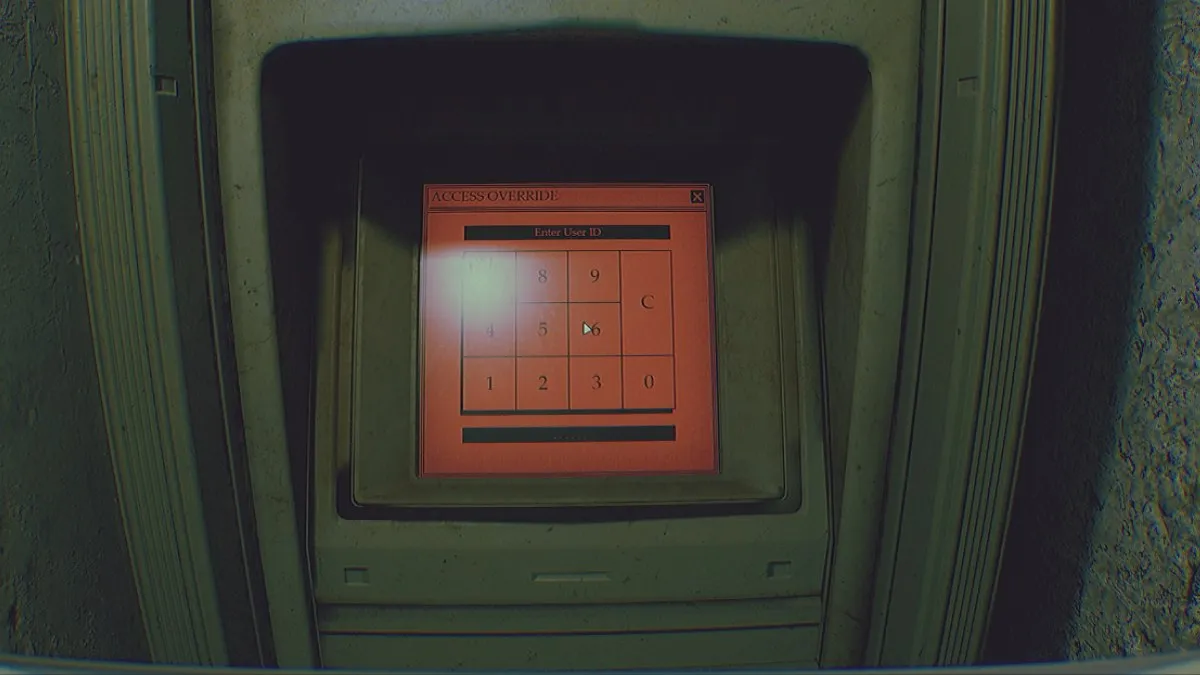
Amid a mountain of incomprehensible horror, enter and retrieve the important thing code from the important thing card mendacity on the ground.
The PIN code is 1275. Use this to go to the room behind the glass within the lab and kind into the terminal on the proper.
Use the ladder to proceed by way of the underground passage, and on the finish you will see that a purple valve. Work together with it to empty the water from one of many earlier save rooms.

Obtained safety clearance stage 3
While you return to the save room, the water has been drained and there’s a ladder main right down to the passage.
Comply with the trail till you attain the workplace on the finish. Function your system and enter PIN code 1275 once more to unlock it. Improve your safety clearance to stage 3 right here.
Subsequent, return to the elevator outdoors and press the button on the proper to take off to the bottom once more.
Take one other stunning moonwalk and return to the primary space with Safety Clearance 3.
Chapter 6
After powering on, function the primary archive display. You’ll be requested to align prong 1 and prong 2 earlier than beginning the lunar ultrasound.
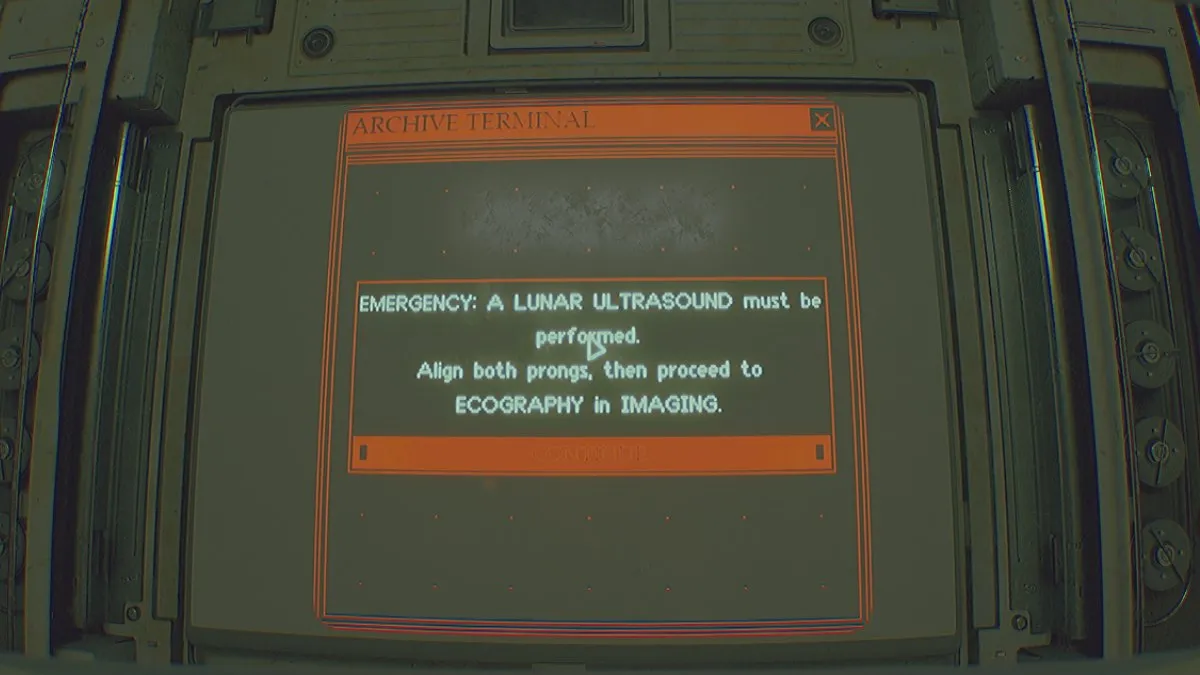
Prong 1 is true subsequent to the reception room and the breaker can be close by. To regulate, transfer up, down, left, or proper till the proximity reaches 100%, and zoom in till you get 100% readability.
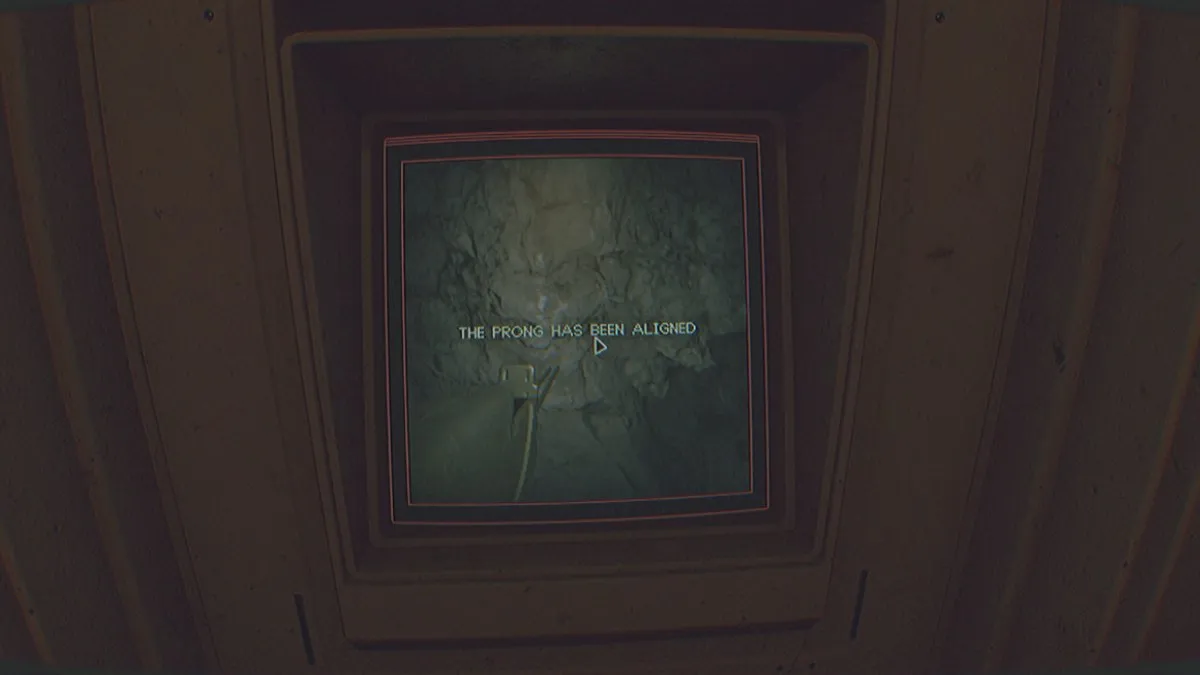
Prong 2 is situated close to the proper fringe of the commons space. Make sure that to be fast whereas doing these, because the creatures will spawn finally. The breaker is immediately throughout from the prong 2 room.
As soon as each prongs are aligned, head to the purple ultrasound room within the imaging space.
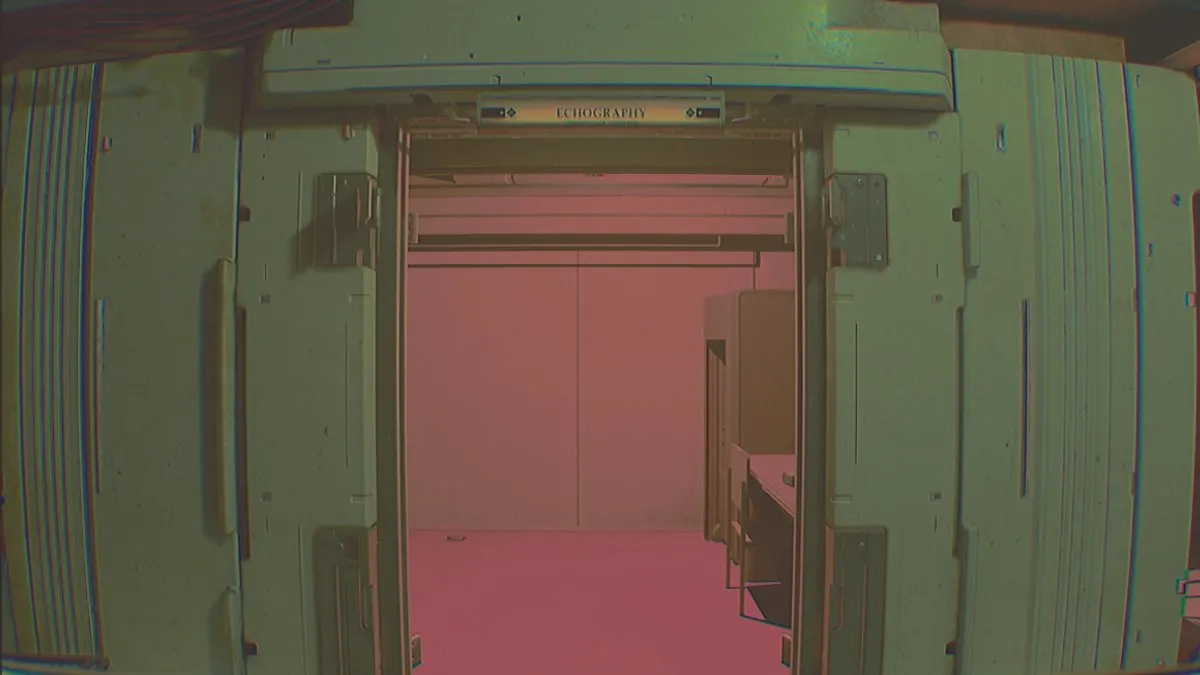
From right here, merely activate the lunar ultrasound utilizing the terminal situated in the back of the ultrasound room.
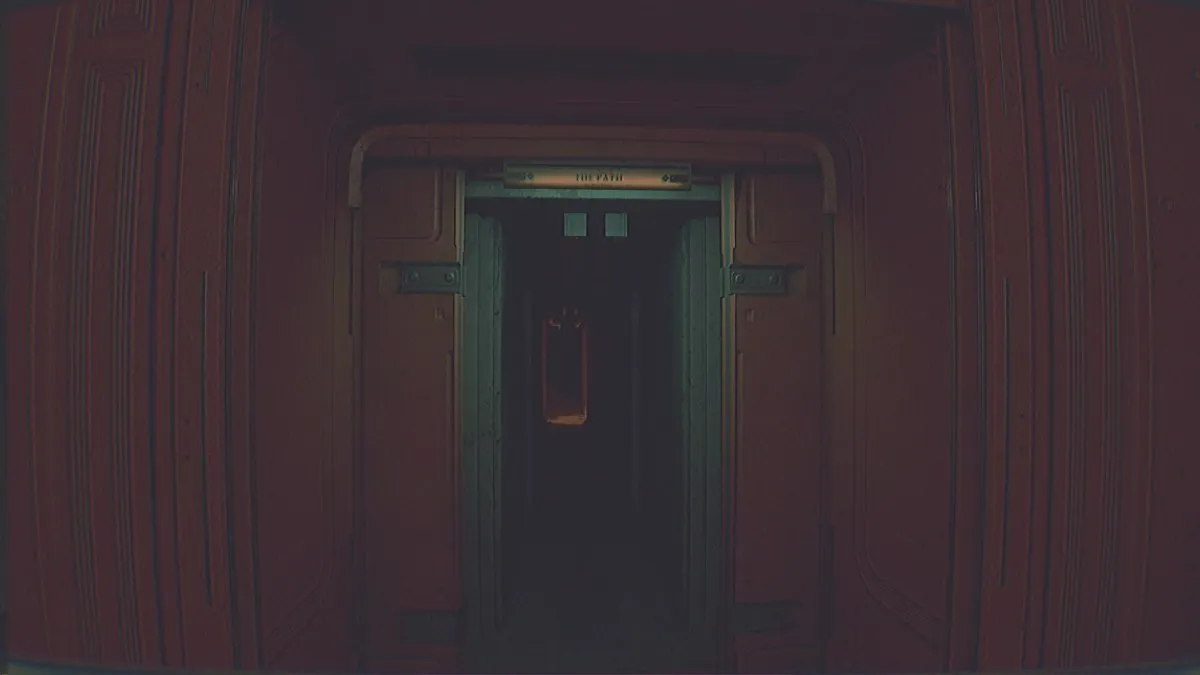
You’ll be requested to manually modify the injection within the induction chamber. This room is labeled “Path” and is situated immediately throughout from the breakers within the imaging space.
There’s nothing else to resolve, so I will depart you to play the remainder of the sport by yourself. We hope you discover this information useful.
Prima Video games is supported by our viewers. While you purchase by way of hyperlinks on our web site, we might earn a small affiliate fee. Click on right here for extra details about affiliate coverage